

Let’s delve into the concept of Dockerization:
“Dockerize” signifies the transformation of an application or service into a Docker container image. This involves encapsulating the application code, its dependencies, and the runtime environment within a Docker container. The result is a self-contained unit that can operate consistently across diverse environments, eliminating concerns about differences in host systems.
Now, let’s embark on the journey with your project:
Step 1: Docker Installation
To kick off your Dockerization adventure, the first step is to install Docker on your system. This pivotal tool will empower you to containerize your application seamlessly.
Step 2: Create a Directory
In this step, create a dedicated directory to house your Dockerized project. This directory will serve as the container’s home, encapsulating all the necessary components for a self-contained and portable deployment.

Step 3: Code Cloning
Continuing our Dockerization journey, the next step is to clone your application code locally. Follow these instructions to seamlessly integrate your code into the Dockerized environment:
1. Open a terminal or command prompt.
2. Navigate to the directory where you want to clone your code.
3. Execute the following command to clone your code repository:
git clone <repository-url>
Replace <repository-url> with the actual URL of your code repository.
https://github.com/mudit097/chat-gpt-clone.git

After cloning the code try to go inside the directory that you have cloned.

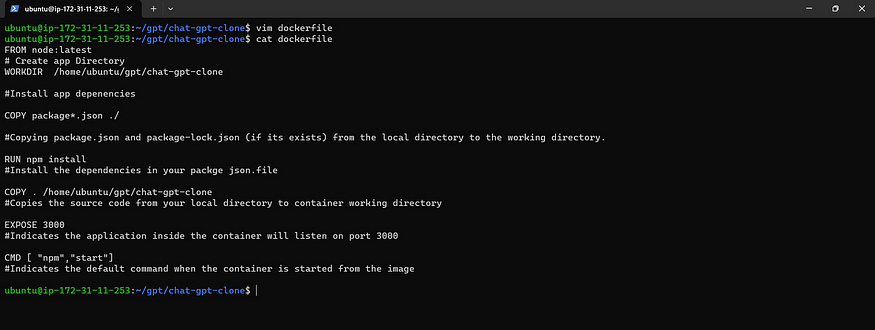
Step-4 We will create the Dockerfile

FROM node:latest
# Create app Directory
WORKDIR  /home/ubuntu/gpt/chat-gpt-clone

#Install app depenencies

COPY package*.json ./

#Copying package.json and package-lock.json (if its exists) from the local directory to the working directory.

RUN npm install
#Install the dependencies in your packge json.file

COPY . /home/ubuntu/gpt/chat-gpt-clone
#Copies the source code from your local directory to container working directory

EXPOSE 3000
#Indicates the application inside the container will listen on port 3000

CMD [ "npm","start"]
#Indicates the default command when the container is started from the image
Step-5 We will run this Image

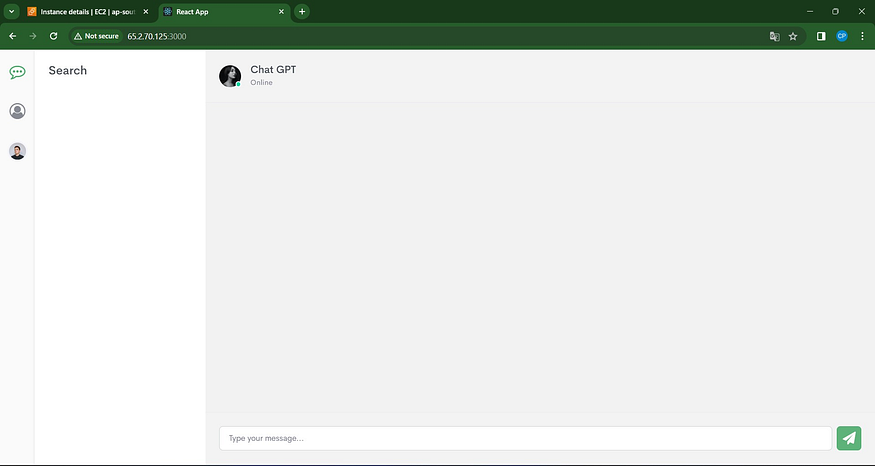
Step-6 Now test the Output
Before testing the output of your Dockerized application, it’s crucial to ensure that port 3000 is open in the inbound rules of your EC2 instance. Follow these steps to avoid encountering any errors:
Navigate to the AWS Management Console.
Open the EC2 Dashboard.
Select “Security Groups” from the left navigation pane.
Choose the security group associated with your EC2 instance.
Under the “Inbound rules” tab, add a new rule to allow incoming traffic on port 3000.
Type: Custom TCP
Port Range: 3000
Source: 0.0.0.0/0 (for testing purposes; consider adjusting for production)
Thank you for investing your time in reading my blog. I trust it provided valuable insights. If you found the content beneficial, I’d be grateful for your support in the following ways:
- Like: If you enjoyed the blog, show your appreciation with a like.
- Share: Spread the knowledge by sharing the blog with your network.
- Follow: Stay tuned for more similar posts in the future by following me.
Your support means a lot, and I look forward to sharing more valuable content with you.
Connect with me on LinkedIn:(https://www.linkedin.com/in/mudit--mathur/)
For any inquiries or feedback, feel free to reach out via email: muditmathur121@gmail.com
GitHub: https://github.com/mudit097/
Project-Repo: https://github.com/mudit097/chat-gpt-clone.git
Once again, thank you for being a part of my community! 🙏🌟