Exploring the 3-Tier Architecture, 8 Services, and 2 Databases of Robot Shop: A Comprehensive Overview


Embarking on a Voyage: Exploring Stan’s Robot Shop — An Educational Microservices Application. Dive into the World of Containerized Applications and Deployment Methodologies in a Practical Sandbox Environment.
Acknowledgments to Abhishek Veeramalla for his contribution.
Watch the video here: https://youtu.be/8T0UnSgywzY?si=cZDDK09klAd-2vuI
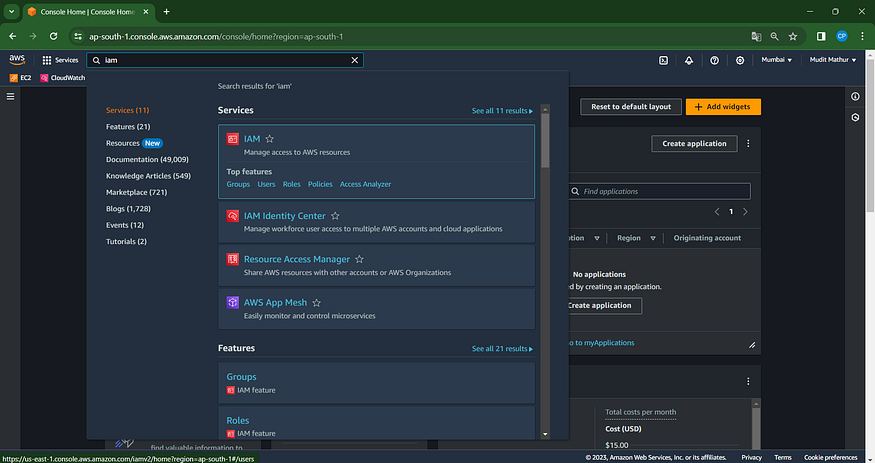
Step 1: IAM User Creation in AWS
1. Log in to the AWS console using your credentials.
2. In the search bar, enter ‘IAM’ to access the IAM Dashboard.
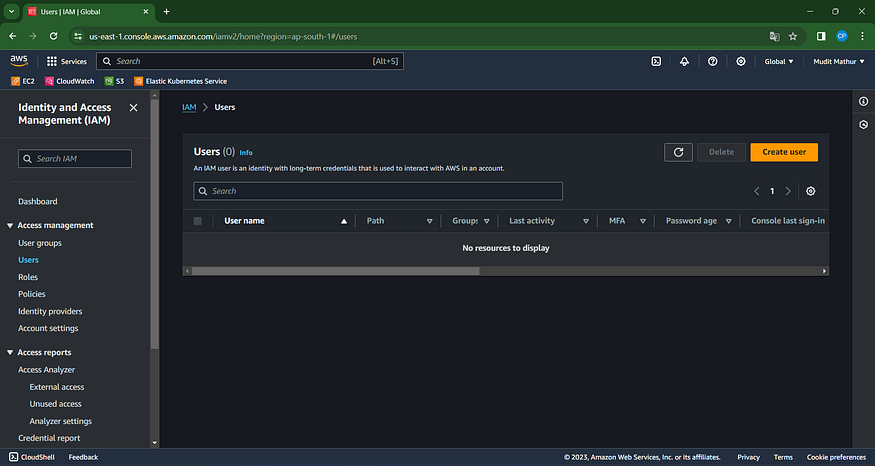
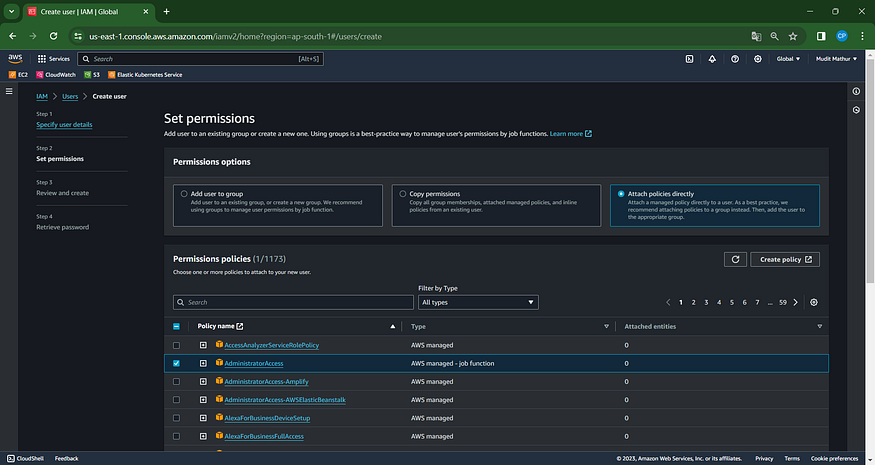
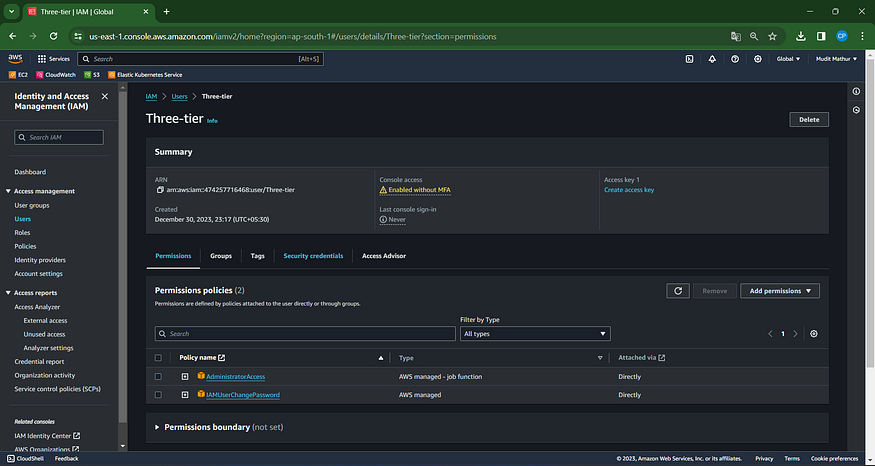
3. Navigate to the ‘Users’ section and select ‘Create User’.
Enter a Name, Check the Desired Options, and Proceed to Next Step
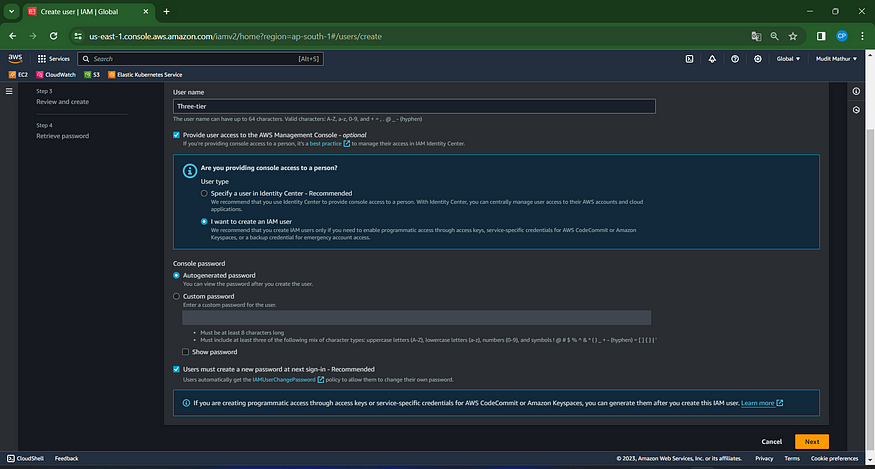
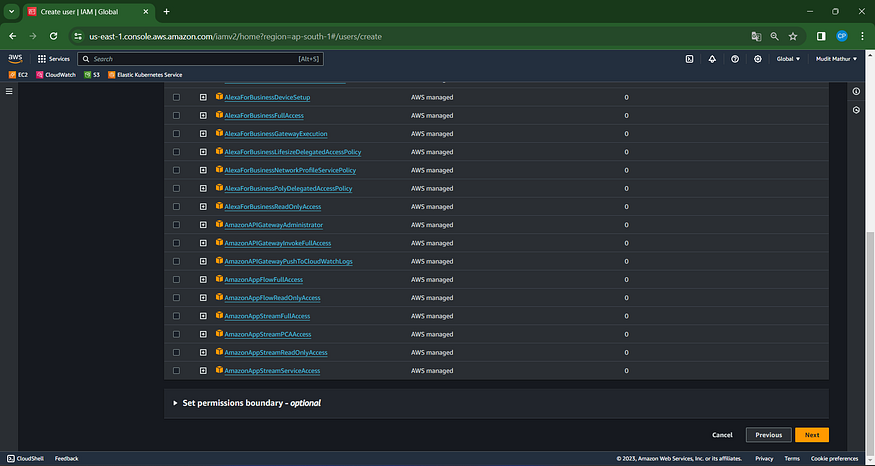
Explore Direct Attachment of Policies: Leveraging AdministratorAccess for Educational Purposes
Click Next
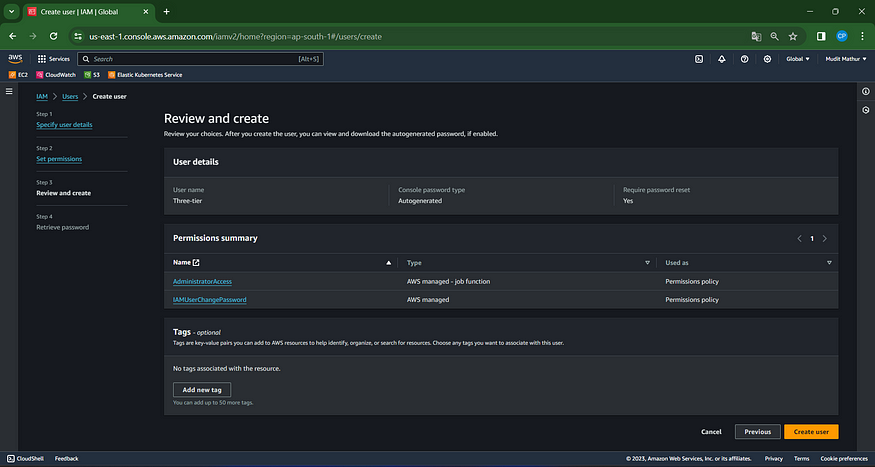
Click on Create user
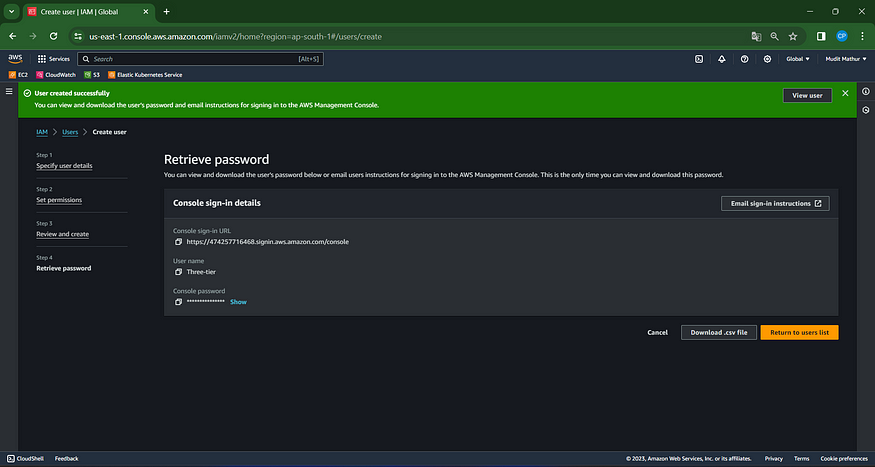
Select View User to Access User Details
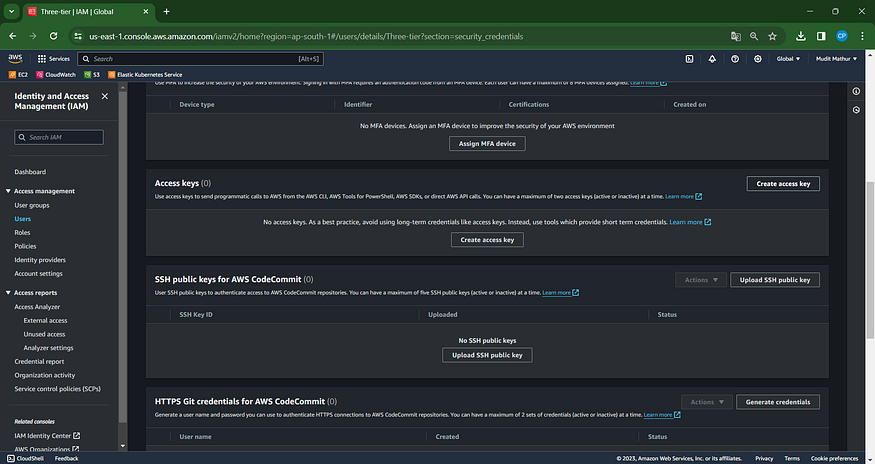
Access Security Credentials
Now, within security credentials, navigate to Access keys and proceed to Create a new access key.
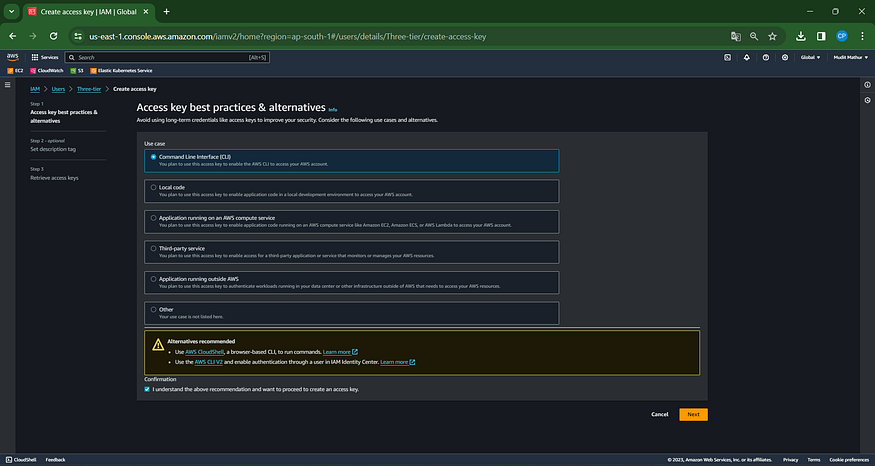
Choose CLI, Agree to Terms, and Proceed to Next
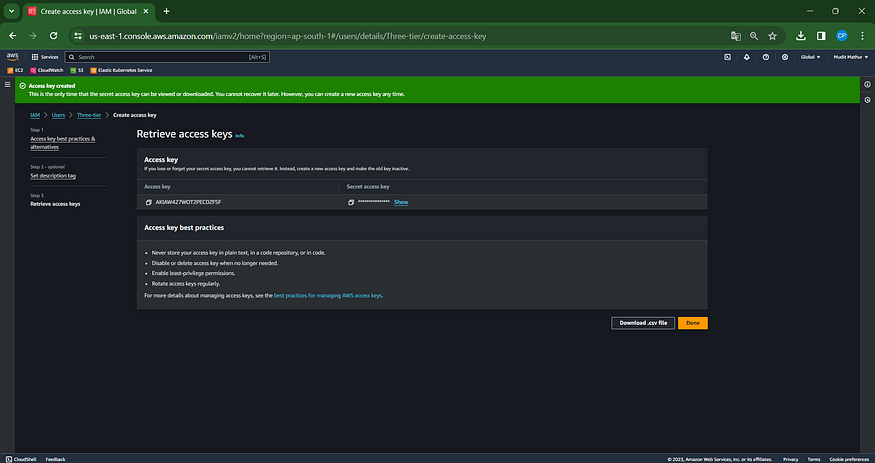
Download the .csv File and Click ‘Done’
Step2: Create EC2 Instance
Provisioning an EC2 Instance on AWS: A Step-by-Step Guide
1. Sign in to AWS Console:
— Log in to your AWS Management Console.
2. Navigate to EC2 Dashboard:
— Access the EC2 Dashboard by selecting “Services” in the top menu.
— Choose “EC2” under the Compute section.
3. Launch Instance:
— Click on the “Launch Instance” button to initiate the creation process.
4. Choose an Amazon Machine Image (AMI):
— Select a suitable AMI (e.g., Ubuntu) for your instance.
5. Choose an Instance Type:
— In the “Choose Instance Type” step, opt for t2.medium.
— Proceed by clicking “Next: Configure Instance Details.”
- Configure Instance Details:
— Set “Number of Instances” to 1 (adjust if necessary).
— Configure additional settings such as network, subnets, IAM role, etc.
— For “Storage,” add a new volume and set the size to 8GB (or modify existing storage to 16GB).
— Click “Next: Add Tags” when configuration is complete.
7. Add Tags (Optional):
— Optionally, add tags to organize your instance.
8. Configure Security Group:
— Choose an existing security group or create a new one.
— Ensure the security group has necessary inbound/outbound rules for required access.
9. Review and Launch:
— Review the configuration details to ensure they are as desired.
10. Select Key Pair:
— Choose “Choose an existing key pair” from the dropdown.
— Acknowledge access to the selected private key file.
11. Launch Instances:
— Click “Launch Instances” to create the EC2 instance.
12. Access the EC2 Instance:
— Once the instance is launched, access it using the selected key pair and the instance’s public IP or DNS.
Optimize Security for Your EC2 Instance: Implement Essential Permissions and Best Practices in Configuring Security Groups and Key Pairs.

Step3: Connect to Instance and Install Required Packages

Eksctl
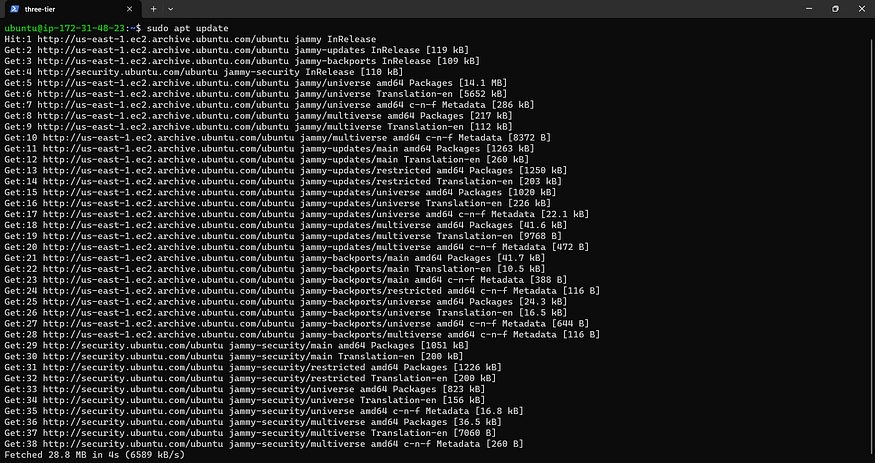
sudo apt update
curl --silent --location "https://github.com/weaveworks/eksctl/releases/latest/download/eksctl_$(uname -s)_amd64.tar.gz" | tar xz -C /tmp
sudo mv /tmp/eksctl /usr/local/bin
eksctl version

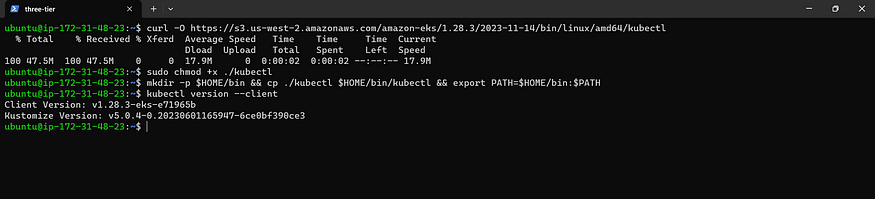
Kubectl
curl -O https://s3.us-west-2.amazonaws.com/amazon-eks/1.28.3/2023-11-14/bin/linux/amd64/kubectl
sudo chmod +x ./kubectl
mkdir -p $HOME/bin && cp ./kubectl $HOME/bin/kubectl && export PATH=$HOME/bin:$PATH
kubectl version --client
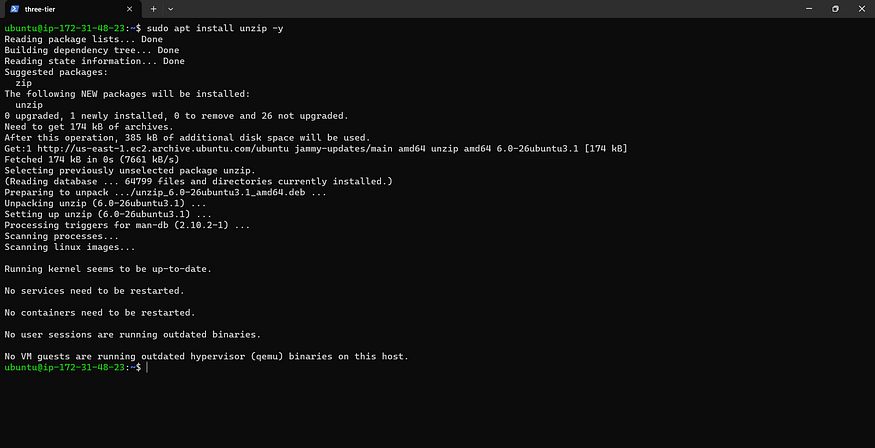
Aws CLI
sudo apt install unzip -y
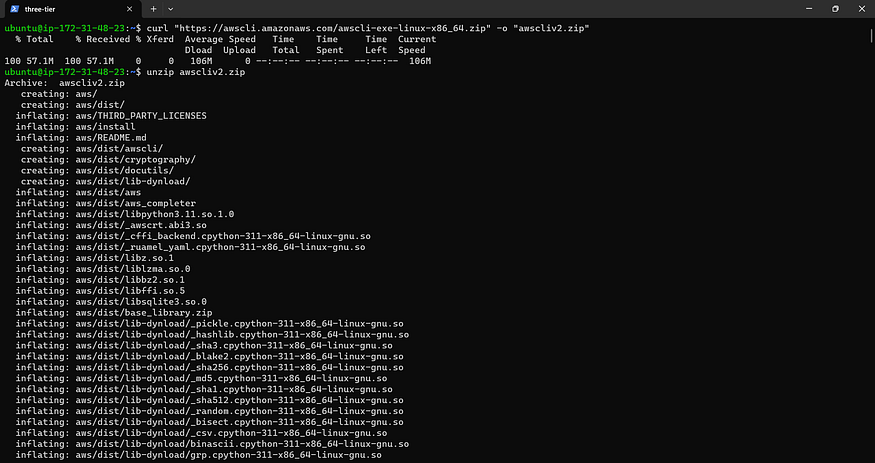
curl "https://awscli.amazonaws.com/awscli-exe-linux-x86_64.zip" -o "awscliv2.zip"
unzip awscliv2.zip
sudo ./aws/install

aws --version

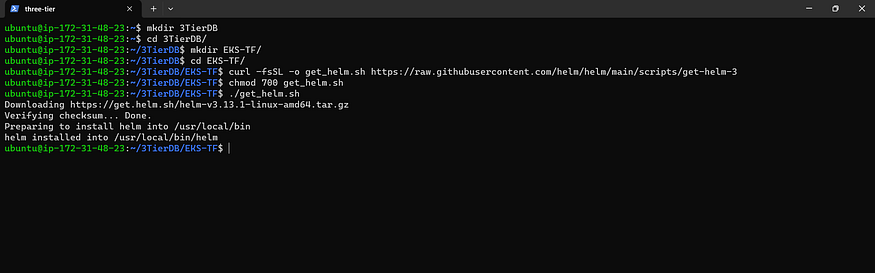
Helm
curl -fsSL -o get_helm.sh https://raw.githubusercontent.com/helm/helm/main/scripts/get-helm-3
chmod 700 get_helm.sh
./get_helm.sh
Step4: EKS Setup
Configure AWS Settings for us-east-1 Region
aws configure

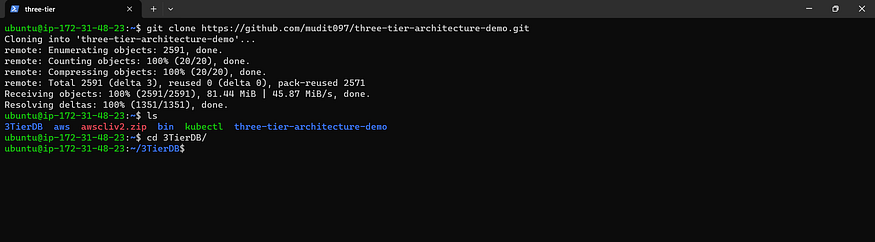
Clone the GitHub Repository: A Step-by-Step Guide
git clone https://github.com/mudit097/three-tier-architecture-demo.git
cd 3TierDB
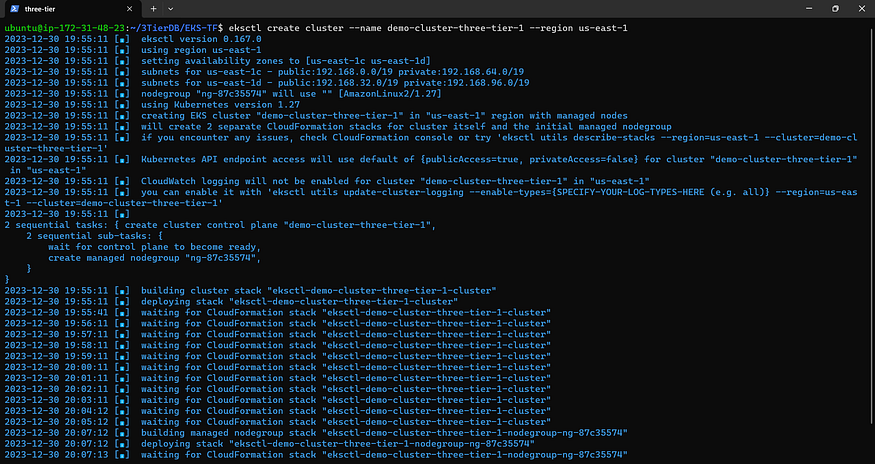
Establish Cluster
eksctl create cluster --name demo-cluster-three-tier-1 --region us-east-1

Certainly! Here’s a revised version of the title:
Setting Up Commands for Configuring IAM OIDC Provider
USE CLUSTER NAME demo-cluster-three-tier-1
export cluster_name=<CLUSTER-NAME>
Utilizing the ‘export cluster_name=’ Command in a Computer’s Command-Line Interface: Creating a Named Storage Space for Efficient Value Storage. Learn how this command assigns a designated storage variable named ‘cluster_name,’ streamlining the process of holding and referencing specific values. Essentially, it allows for the efficient recall and utilization of the cluster’s name in various commands or programs, eliminating the need for repetitive typing.
oidc_id=$(aws eks describe-cluster --name $cluster_name --query "cluster.identity.oidc.issuer" --output text | cut -d '/' -f 5)
Extracting Specific Information from an Amazon EKS Cluster Using AWS CLI
Check if there is an IAM OIDC provider configured already
aws iam list-open-id-connect-providers | grep $oidc_id | cut -d "/" -f4
Using AWS CLI to Retrieve Information: Listing OpenID Connect (OIDC) Providers in AWS IAM
eksctl utils associate-iam-oidc-provider --cluster $cluster_name --approve
Associating IAM OIDC Provider with Amazon EKS Cluster Using EKSCTL Command

Setting Up ALB Add-On:
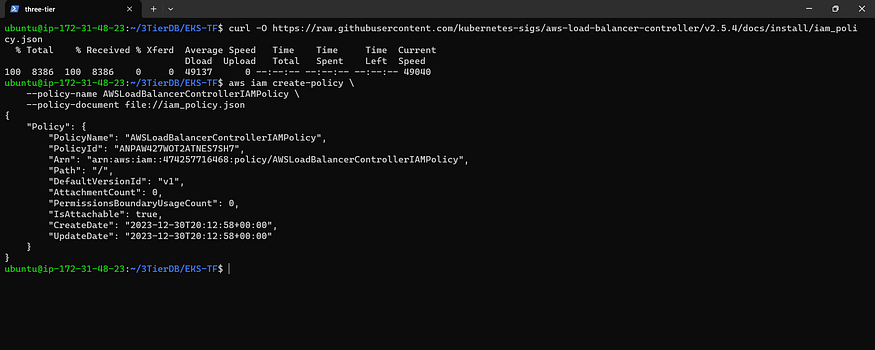
Downloading IAM Policy
Create IAM Policy
curl -O https://raw.githubusercontent.com/kubernetes-sigs/aws-load-balancer-controller/v2.5.4/docs/install/iam_policy.json
aws iam create-policy \
    --policy-name AWSLoadBalancerControllerIAMPolicy \
    --policy-document file://iam_policy.json
Create IAM Role with Cluster Name and AWS Account ID
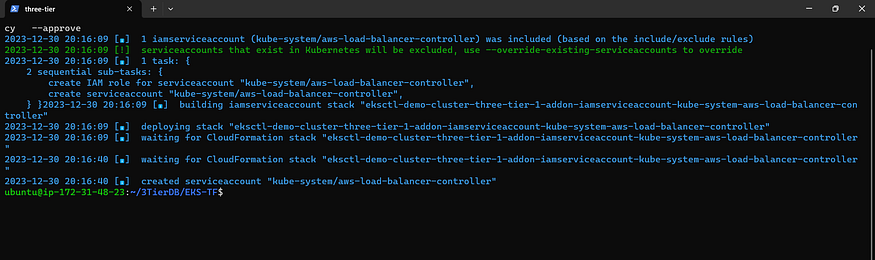
eksctl create iamserviceaccount \
  --cluster=<your-cluster-name> \
  --namespace=kube-system \
  --name=aws-load-balancer-controller \
  --role-name AmazonEKSLoadBalancerControllerRole \
  --attach-policy-arn=arn:aws:iam::<your-aws-account-id>:policy/AWSLoadBalancerControllerIAMPolicy \
  --approve
Obtaining AWS Account ID: Navigate to the AWS Console, click on your profile name on the right side, and copy the account ID.
Implement ALB Controller
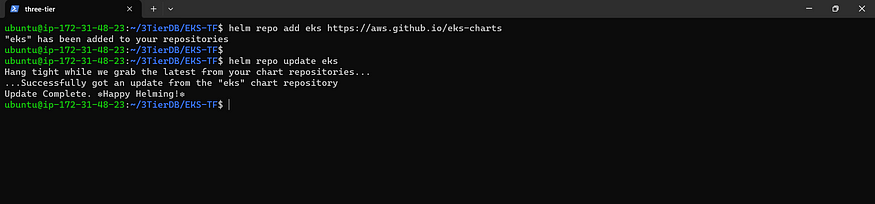
Add Helm Repository for Deployment
helm repo add eks https://aws.github.io/eks-charts
Repository Refresh: Latest Updates
helm repo update eks
Update the VPC_ID in the following command after retrieving the VPC ID from EKS

helm install aws-load-balancer-controller eks/aws-load-balancer-controller -n kube-system --set clusterName=demo-cluster-three-tier-1 --set serviceAccount.create=false --set serviceAccount.name=aws-load-balancer-controller --set region=us-east-1 --set vpcId=<vpc-id>
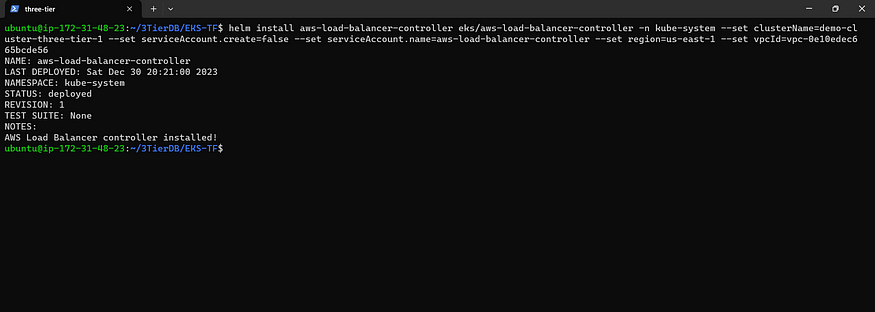
Ensure Operational Deployment Success
kubectl get deployment -n kube-system aws-load-balancer-controller

EBS CSI Plugin Setup and Configuration
The Amazon EBS CSI Plugin Requires IAM Permissions for AWS API Calls on Behalf of Your Cluster.
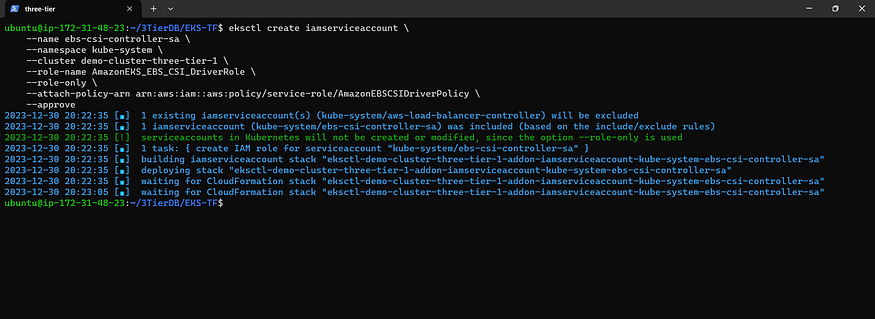
Create an IAM Role and Attach a Policy for Cluster: [Your Cluster Name]. AWS provides an AWS Managed Policy, or you can craft a Custom Policy. Use the following command to create an IAM role and attach the AWS Managed Policy; ensure to replace ‘my-cluster’ with your cluster’s name. This command deploys an AWS CloudFormation stack, establishing an IAM role and linking the IAM policy to it.
eksctl create iamserviceaccount \
    --name ebs-csi-controller-sa \
    --namespace kube-system \
    --cluster <YOUR-CLUSTER-NAME> \
    --role-name AmazonEKS_EBS_CSI_DriverRole \
    --role-only \
    --attach-policy-arn arn:aws:iam::aws:policy/service-role/AmazonEBSCSIDriverPolicy \
    --approve
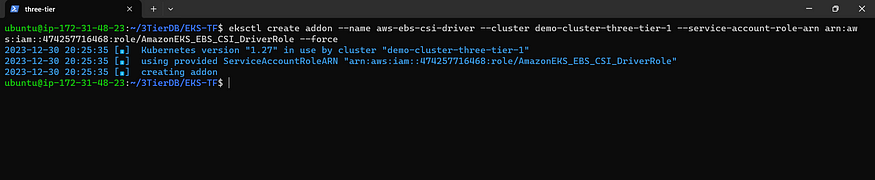
Execute the following command, replacing ‘YOUR_CLUSTER_NAME’ with the actual name of your cluster and ‘YOUR_ACCOUNT_ID’ with your account ID.
eksctl create addon --name aws-ebs-csi-driver --cluster <YOUR-CLUSTER-NAME> --service-account-role-arn arn:aws:iam::<AWS-ACCOUNT-ID>:role/AmazonEKS_EBS_CSI_DriverRole --force
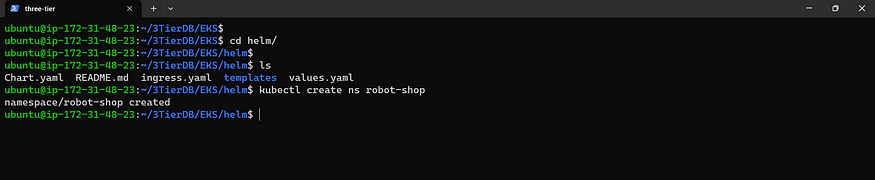
Navigate into the Helm and Establish a New Namespace
cd helm
kubectl create ns robot-shop
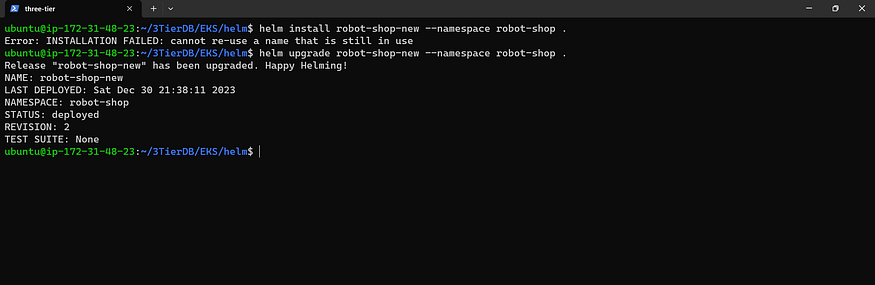
Now
helm install robot-shop --namespace robot-shop .
Time for Pod Check
kubectl get pods -n robot-shop

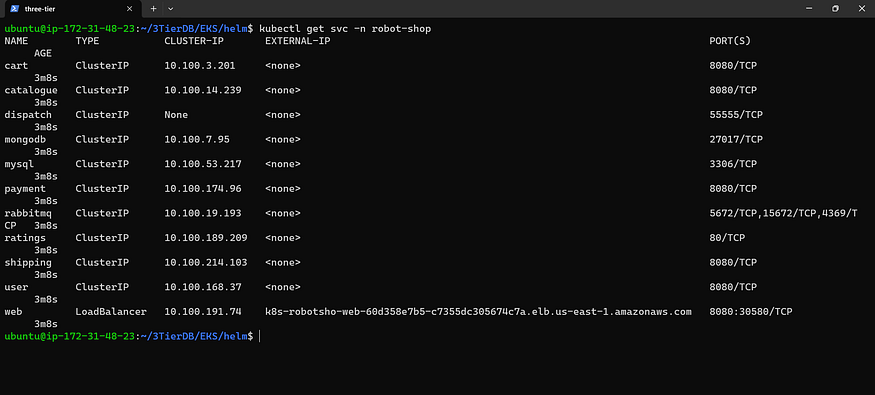
Check service
kubectl get svc -n robot-shop
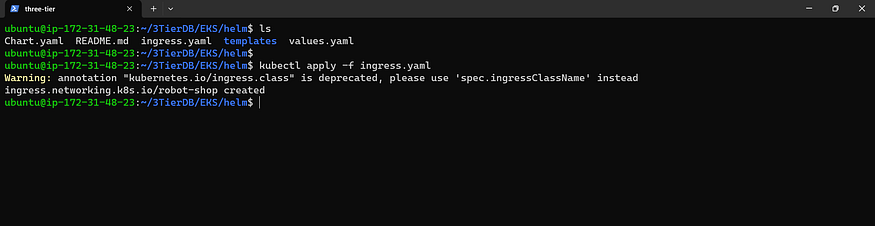
Now Accepting Ingress Applications
kubectl apply -f ingress.yaml
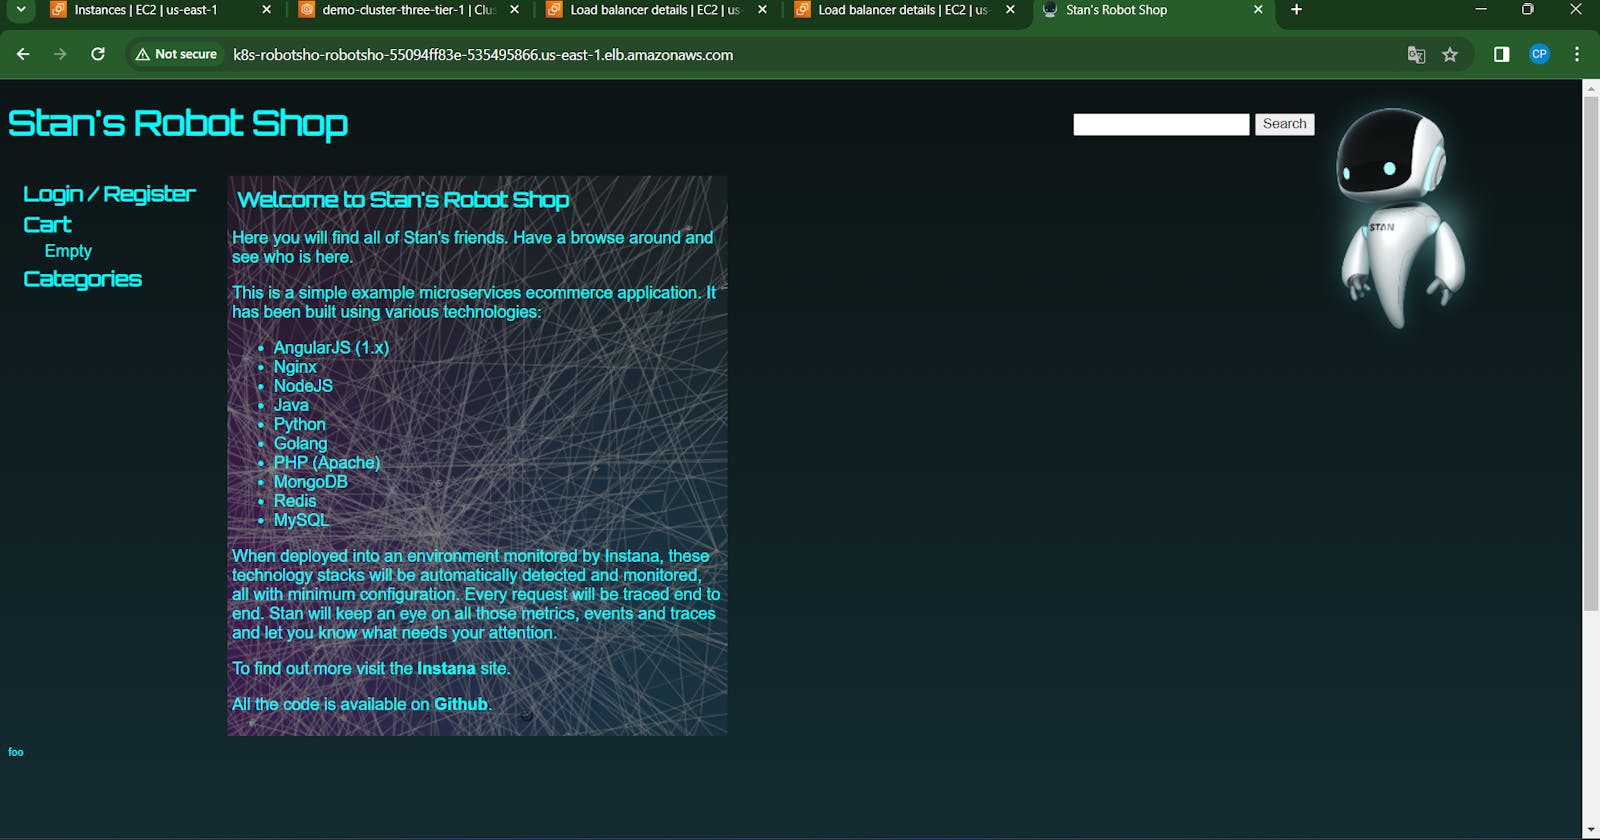
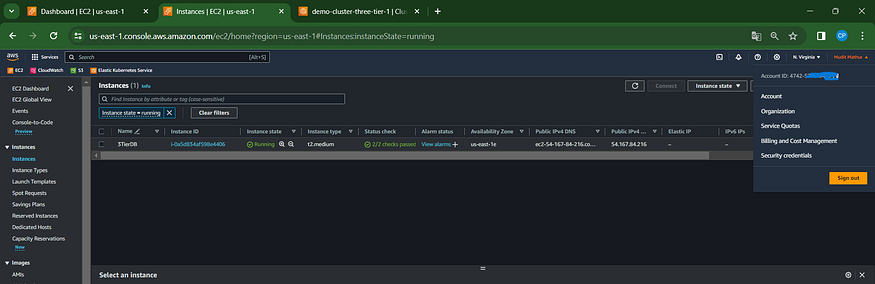
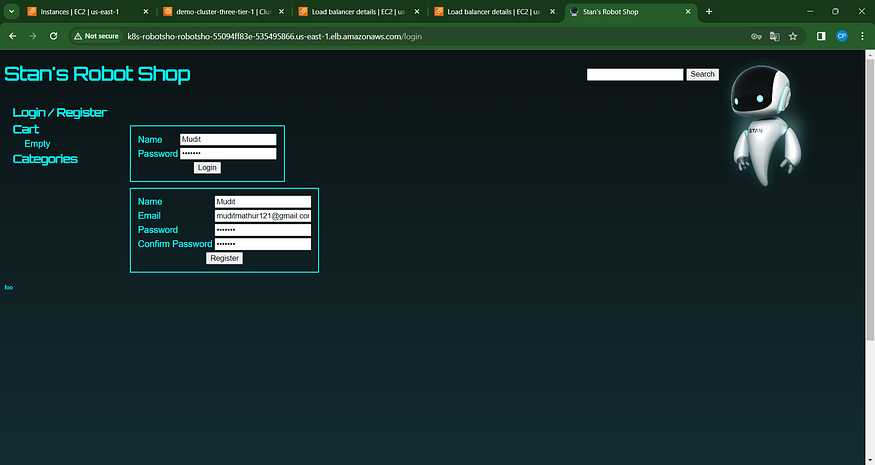
Navigate to AWS Console, Locate EC2, and Access Load Balancers — Copy DNS
k8s-robotsho-robotsho-55094ff83e-535495866.us-east-1.elb.amazonaws.com
Open a fresh tab and insert

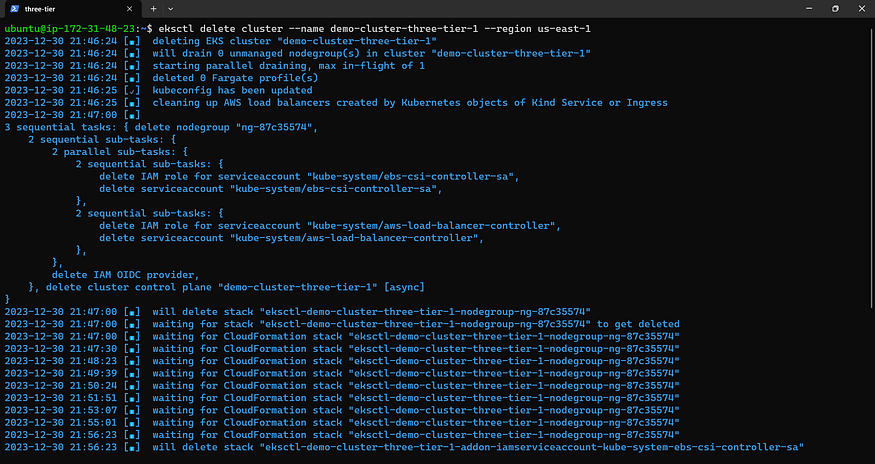
Step5: DELETE CLUSTER
Input This Command Immediately
eksctl delete cluster --name demo-cluster-three-tier-1 --region us-east-1

Unveiling the Depths: A Voyage through Stan’s Robot Shop Deployment and Configuration
Embarking on the deployment and configuration journey of Stan’s Robot Shop — a versatile microservices application — has proven to be an enlightening odyssey through the intricacies of containerized applications, orchestration, and monitoring.
Within the pages of this guide, we’ve covered a myriad of essential steps, from deploying the application using Docker Compose to the integration of IAM OIDC providers with Amazon EKS clusters. This integration not only facilitates secure access to AWS resources but also unlocks the potential of Kubernetes service accounts.
Stan’s Robot Shop serves as more than just a testing ground for technologies like NodeJS, Java, Python, and others; it stands as a practical learning arena for mastering orchestration tools such as Kubernetes and monitoring solutions like Instana.
As you continue to navigate the complexities of microservices architectures, container orchestration, and monitoring methodologies, remember that Stan’s Robot Shop is not just a destination but a starting point — an arena where you can explore, test, and refine your skills in a secure and controlled environment.
We trust that this guide has offered valuable insights and practical guidance, empowering you to advance your knowledge and proficiency in the realms of containerized applications and Kubernetes.