Infrastructure as Code: Deploying EC2 Instances, SonarQube, and Trivy with Terraform and Jenkins

Mudit Mathur is an experienced DevOps Engineer with expertise in AWS, CI/CD, and automation. He delivers tangible results by streamlining processes and fostering collaboration. Reach out to him at linkedin.com/in/mudit-mathur-535786146 or muditmathur121@gmail.com for efficient DevOps solutions.
In today's dynamic landscape of technology and digital transformation, harnessing automation and scalability within your infrastructure is paramount. By harnessing the potential of Infrastructure as Code (IaC) and cloud computing, we can revolutionize the way we create development environments, foster Continuous Integration and Continuous Deployment (CI/CD), and uphold rigorous code quality standards.
In this article, we embark on a journey to showcase the power of Terraform, an IaC tool, in orchestrating the provisioning of an EC2 instance in the cloud, deploying Jenkins for seamless continuous integration, and configuring a SonarQube container for comprehensive code quality monitoring.
Through this automation, you not only slash manual configuration overhead but also elevate the dependability and efficiency of your development pipeline. Join us as we explore how Terraform can metamorphose your infrastructure into a finely tuned mechanism, poised to propel your software projects to unprecedented heights.
Step 1: How to install and set up Terraform on Windows.
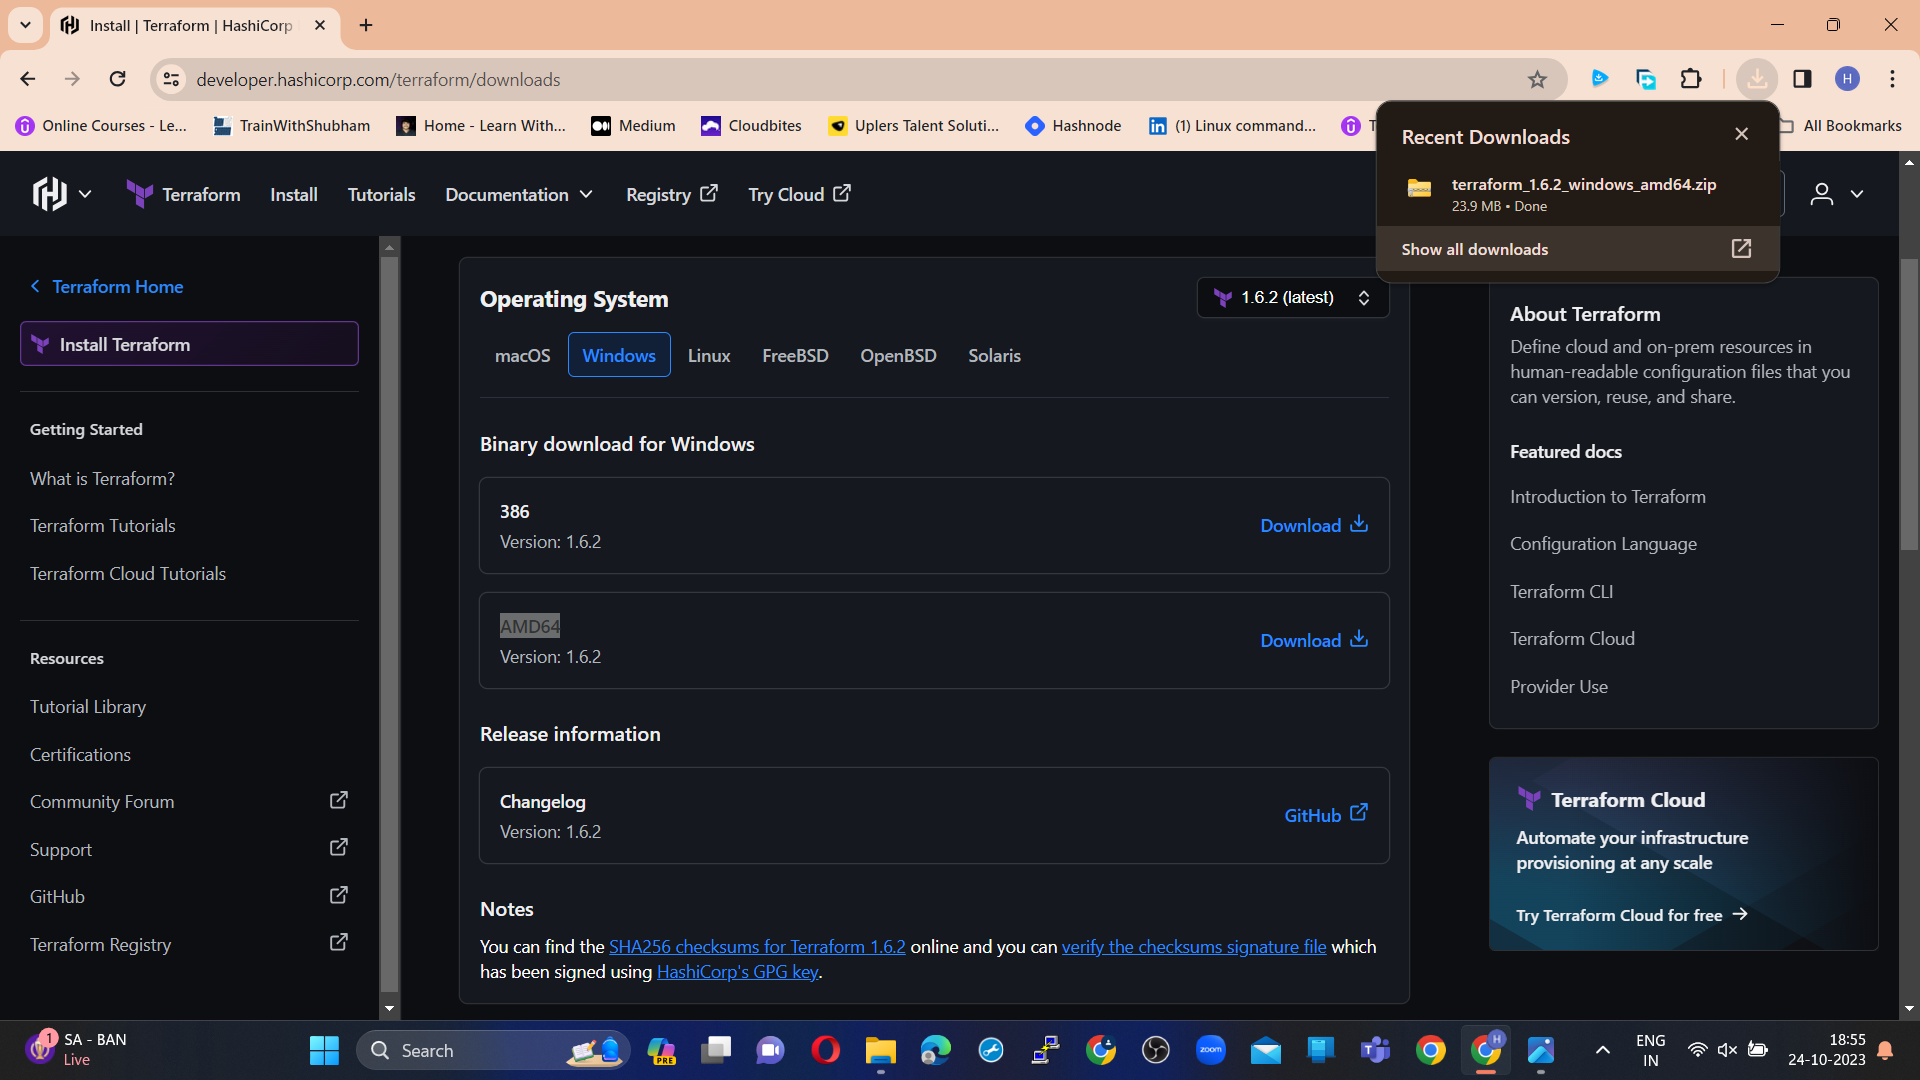
Download Terraform:
Visit the official Terraform website: https://www.terraform.io/downloads.html
Extract the ZIP Archive:
Once the download is complete, extract the contents of the ZIP archive to a directory on your computer. You can use a tool like 7-Zip or the built-in Windows extraction tool. Ensure that you extract it to a directory that's part of your system's PATH.
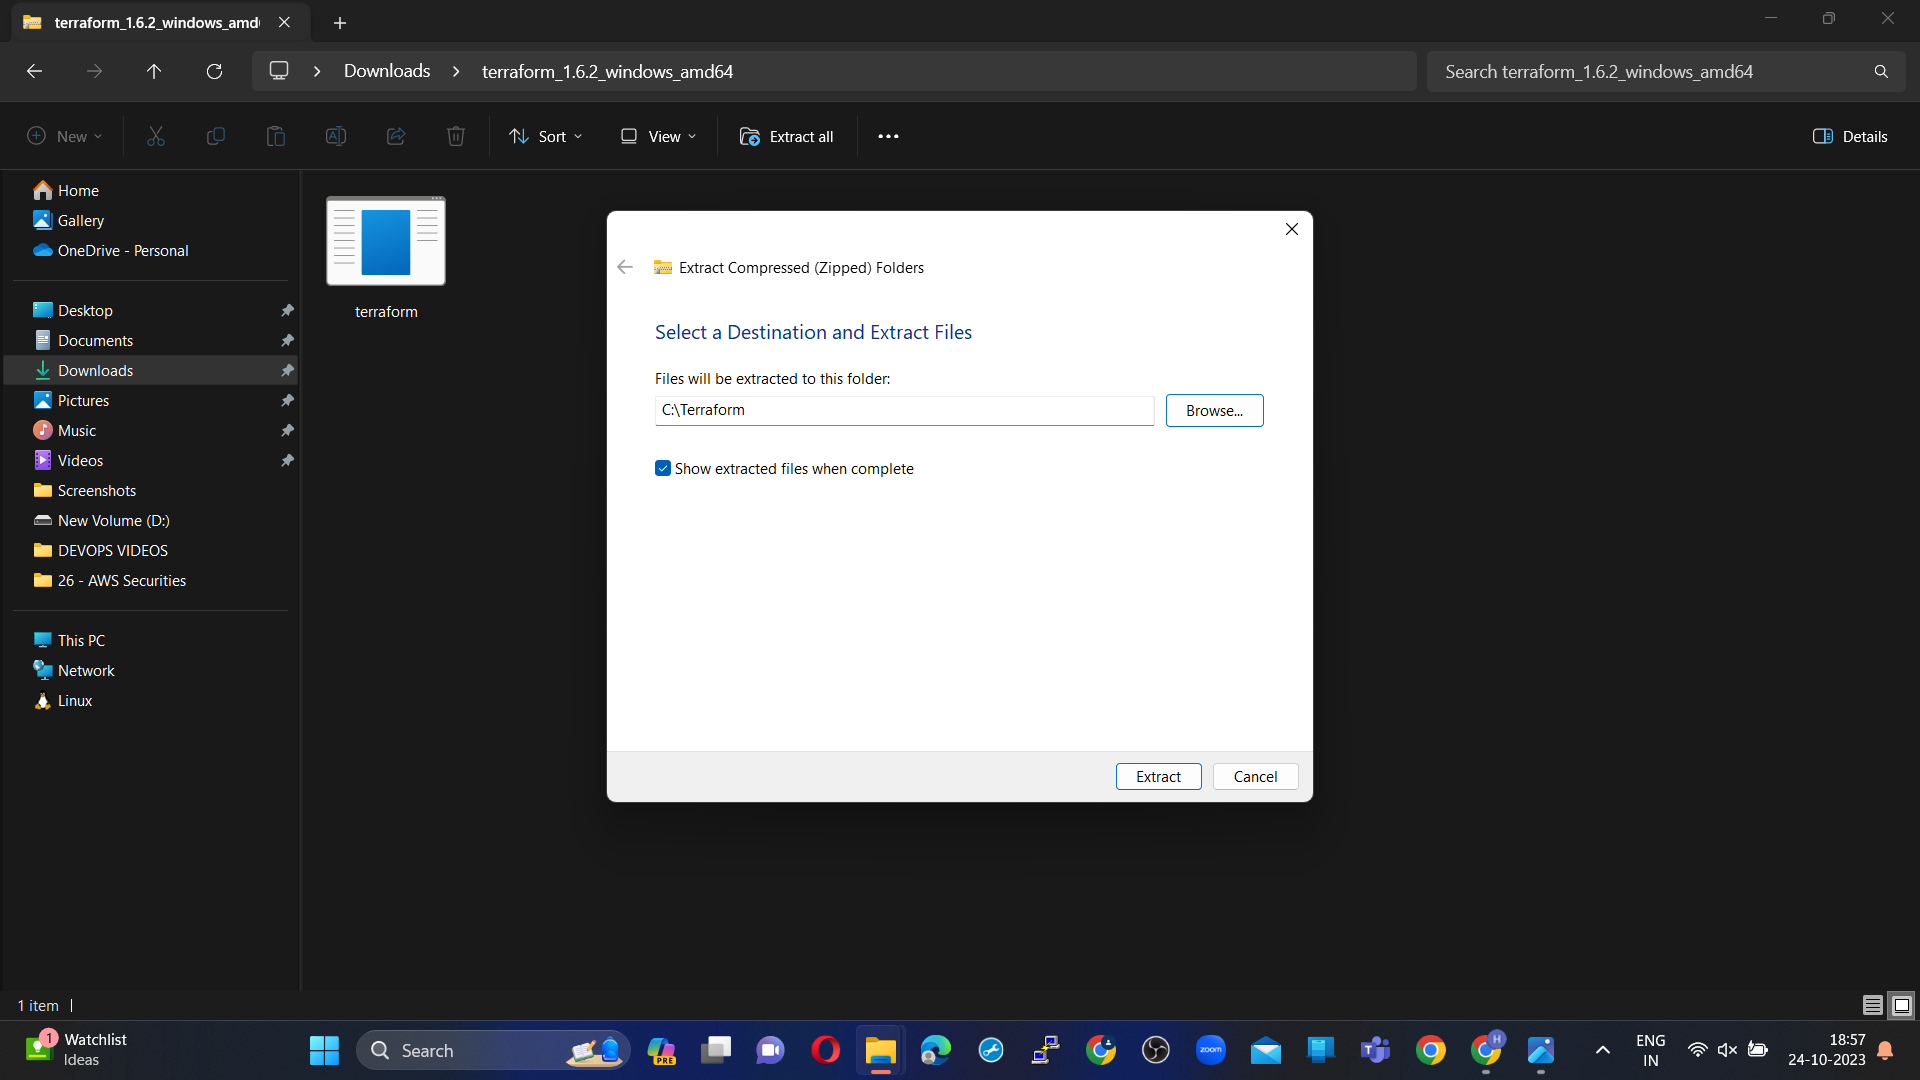
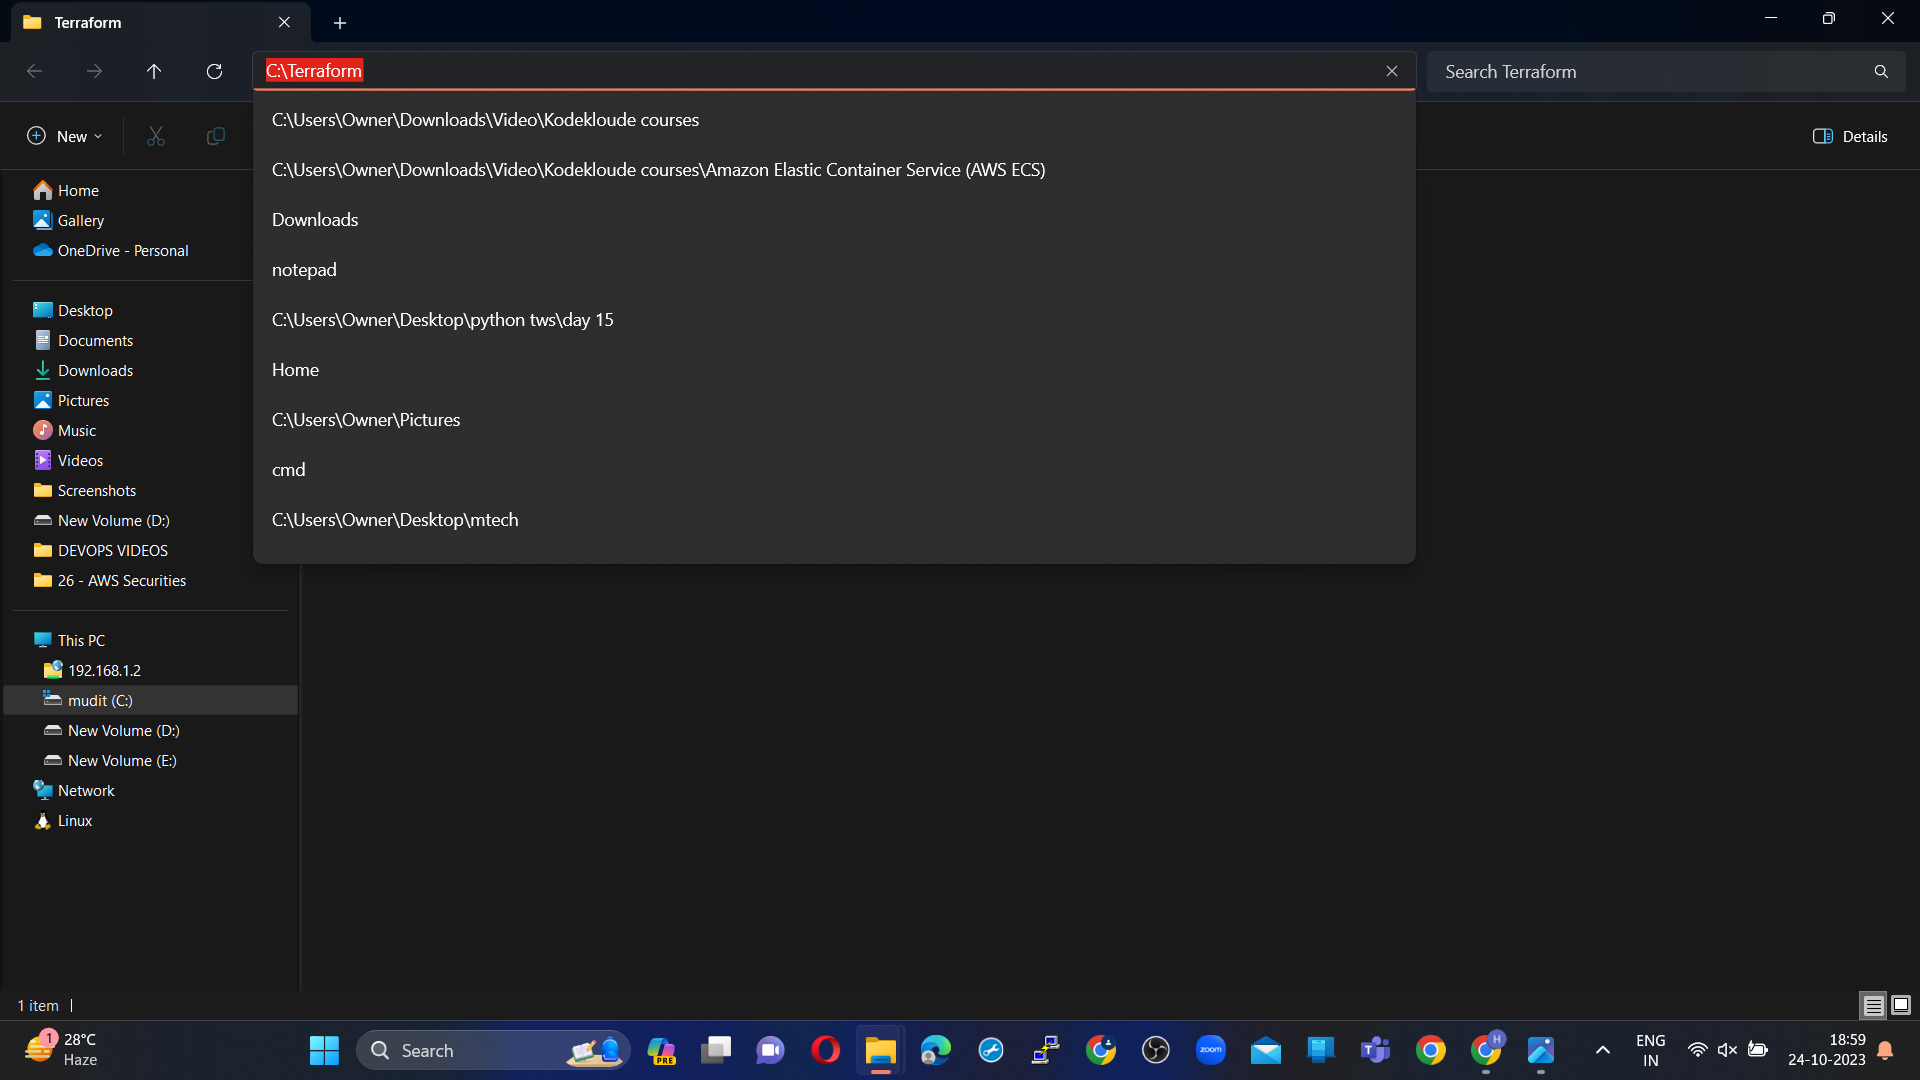
Remember that I created a Terraform Directory in C drive
Extracted to C drive
Copy the path
Add Terraform to Your System's PATH:
To make Terraform easily accessible from the command prompt, add the directory where Terraform is extracted to your system's PATH environment variable. Follow these steps:
Search for "Environment Variables" in your Windows search bar and click "Edit the system environment variables."

In the "System Properties" window, click the "Environment Variables" button.
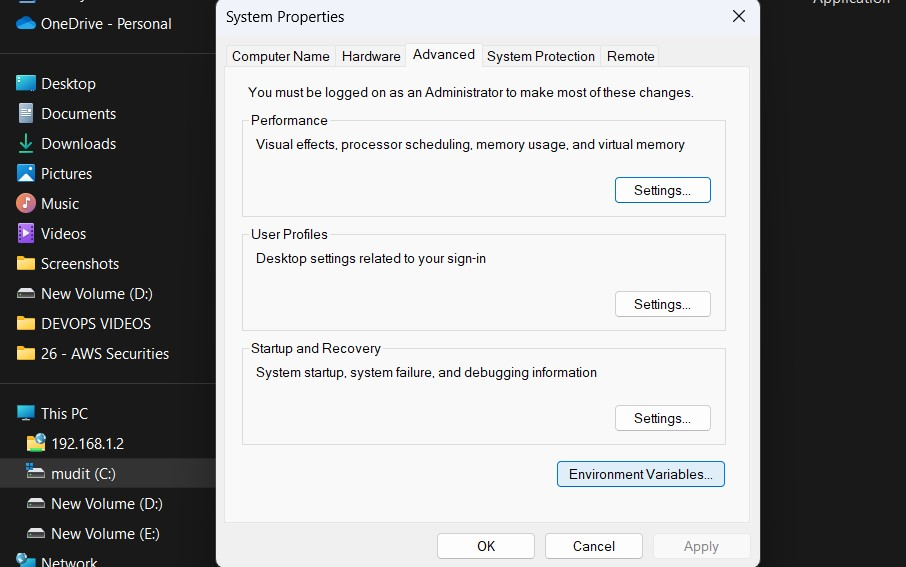
Under "User variables for Admin," find the "Path" variable and click "Edit."
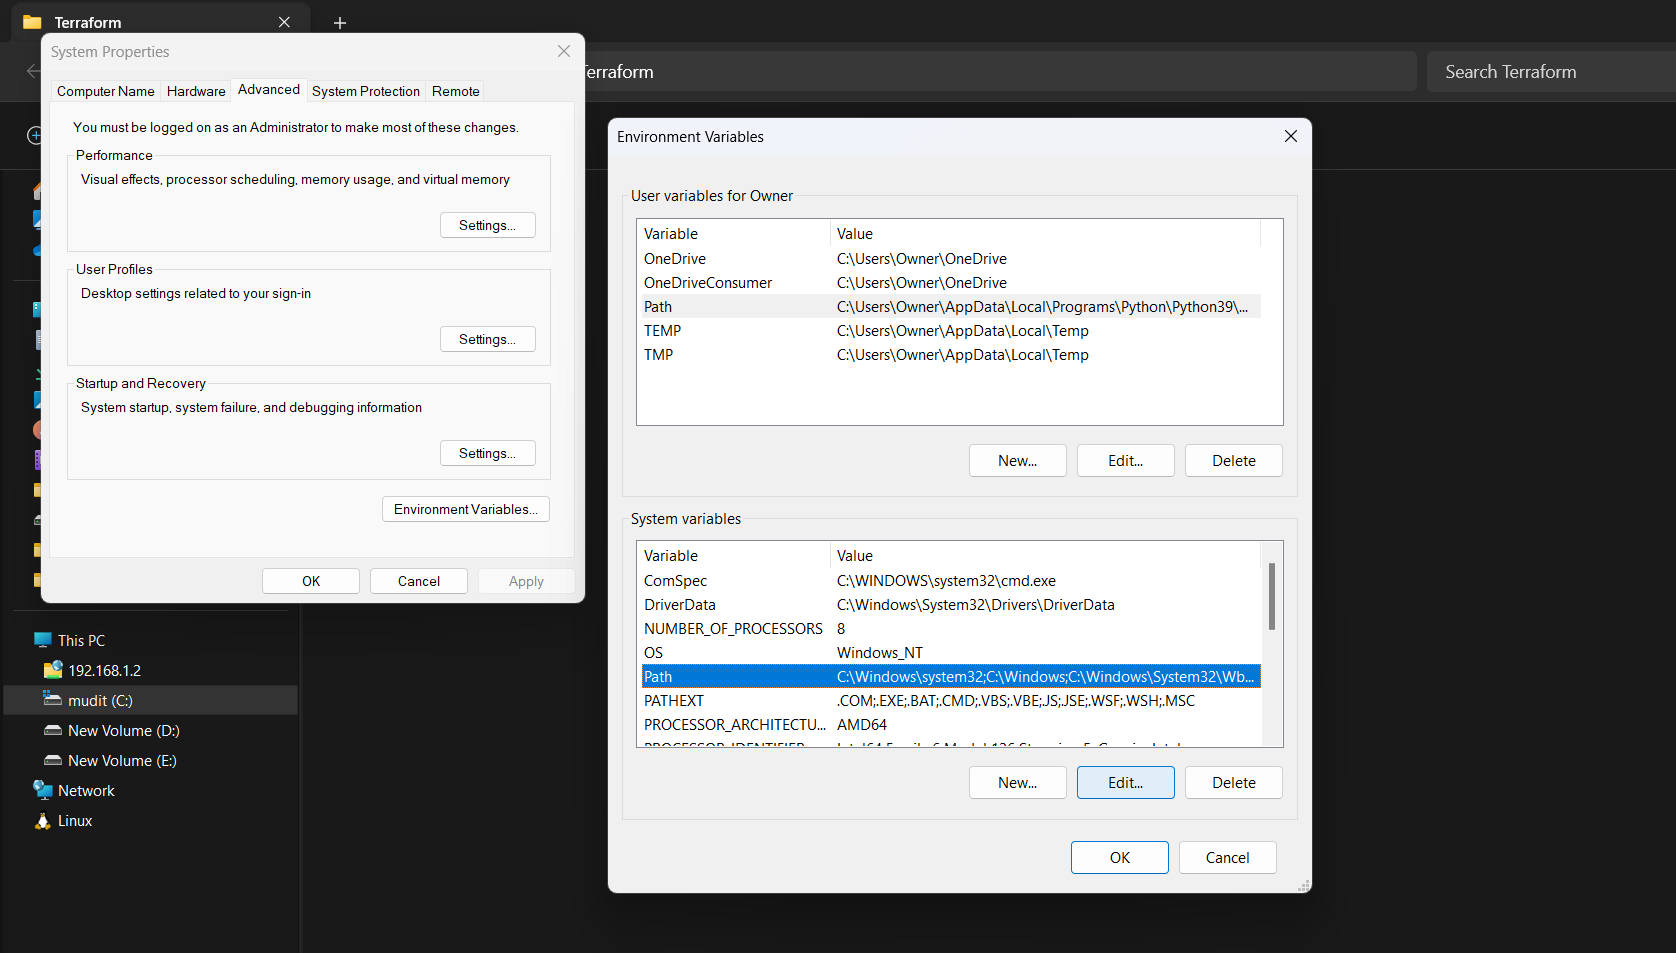
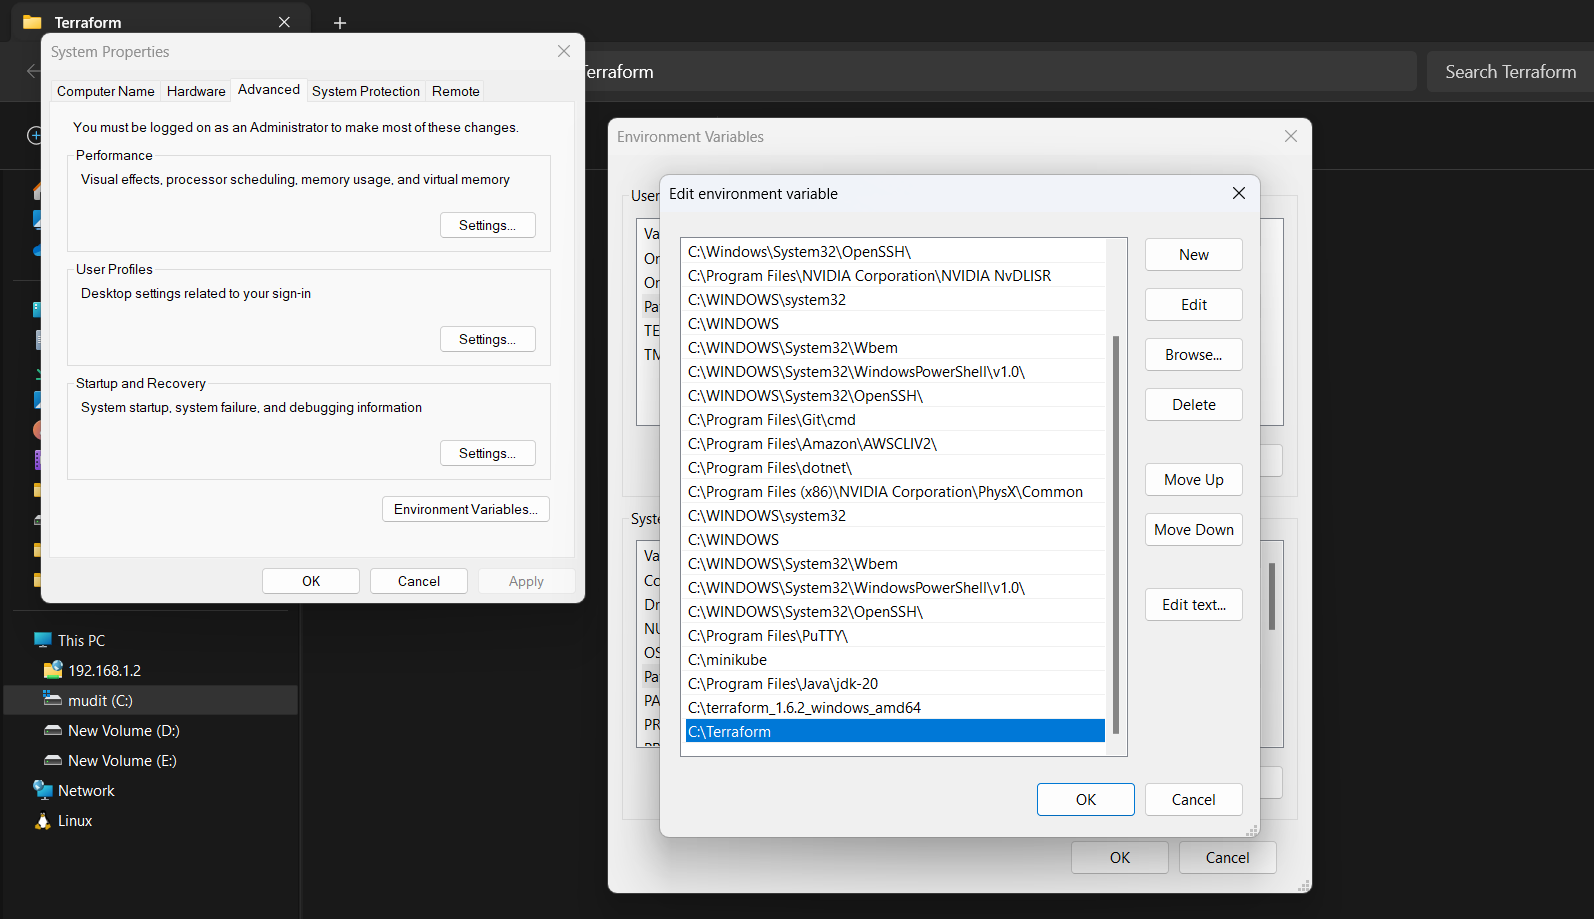
Click "New" and add the path to the directory where you extracted Terraform (e.g., C:\path\to\terraform).
Click "OK" to close the Environment Variables windows.
Click "OK" again to close the System Properties window.
Verify the Installation:
Open a new Command Prompt or PowerShell window.
Type terraform --version and press Enter. This command should display the Terraform version, confirming that Terraform is installed and in your PATH.
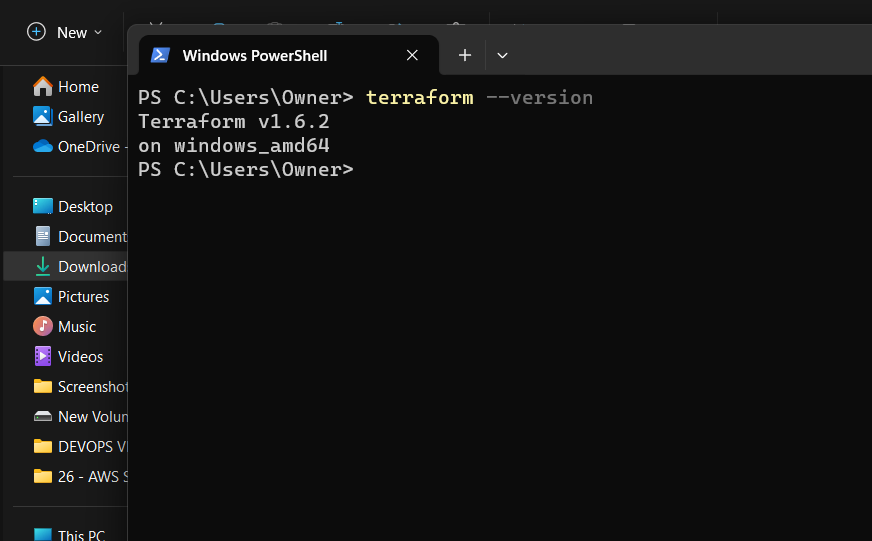
Your Terraform installation is now complete, and you can start using Terraform to manage your infrastructure as code.
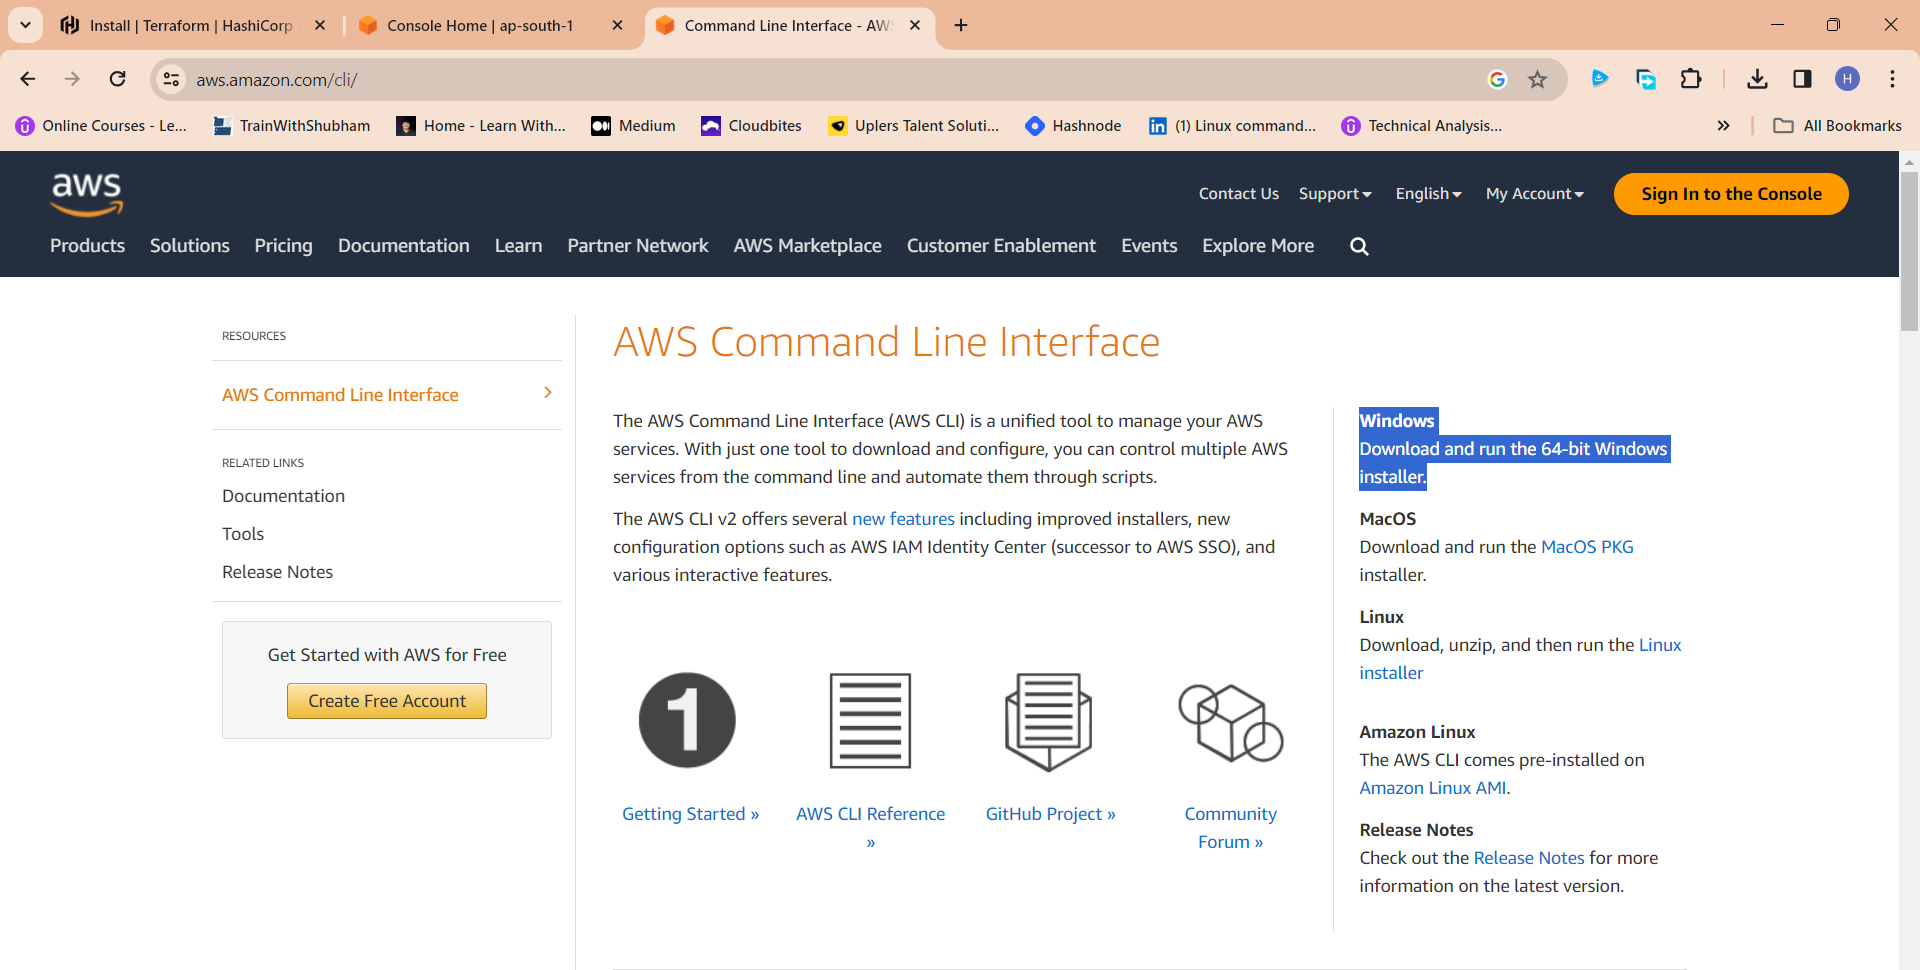
Step 2: Download the AWS CLI Installer:
Visit the AWS CLI Downloads page: https://aws.amazon.com/cli/
Under "Install the AWS CLI," click on the "64-bit" link to download the AWS CLI installer for Windows.
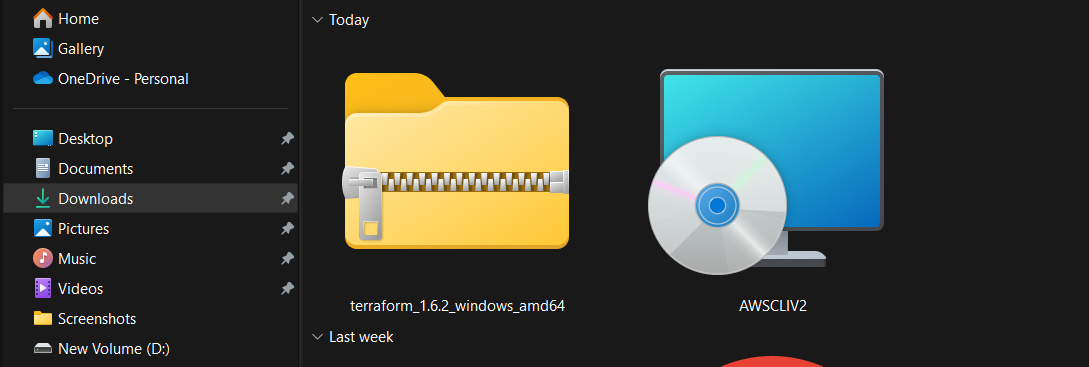
Run the Installer:
Locate the downloaded installer executable (e.g., AWSCLIV2.exe) and double-click it to run the installer.
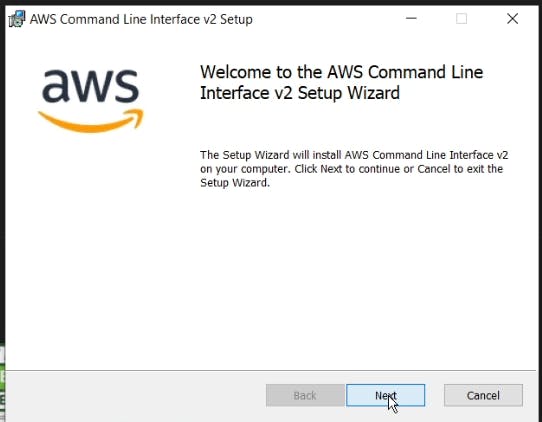
Click on Next
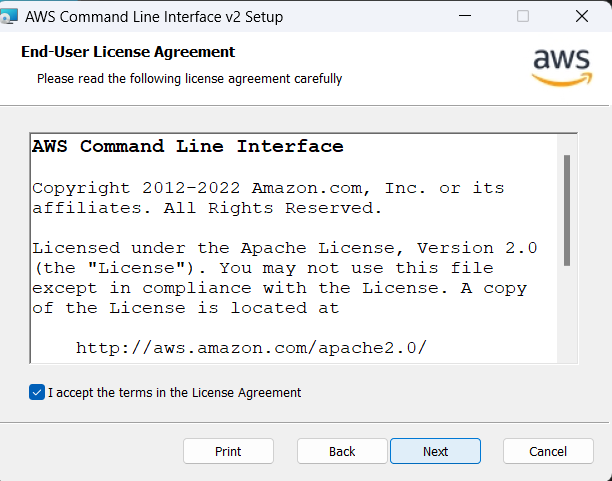
Agree to the terms and click on Next
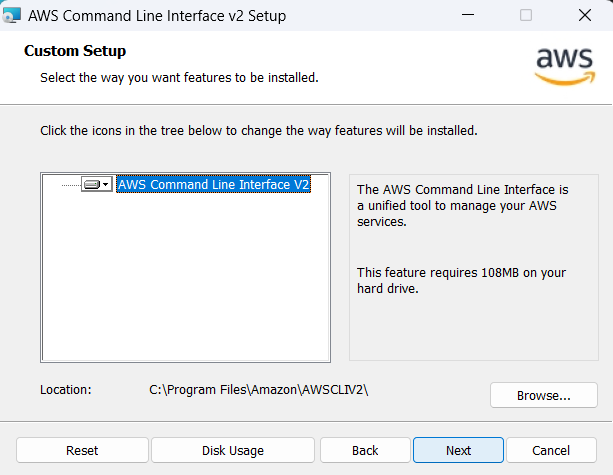
Click Next
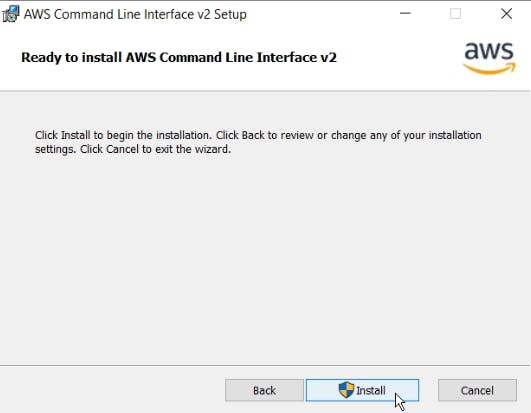
Click on install
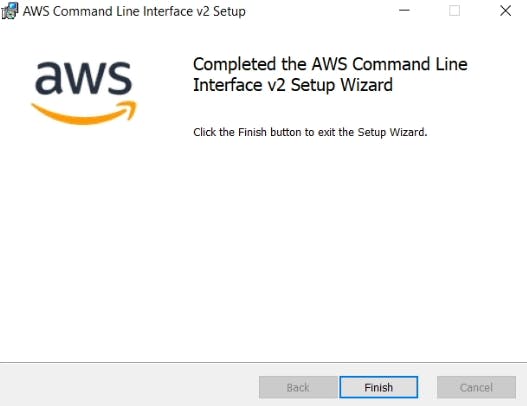
Click Finish Aws cli is installed
Verify the Installation:
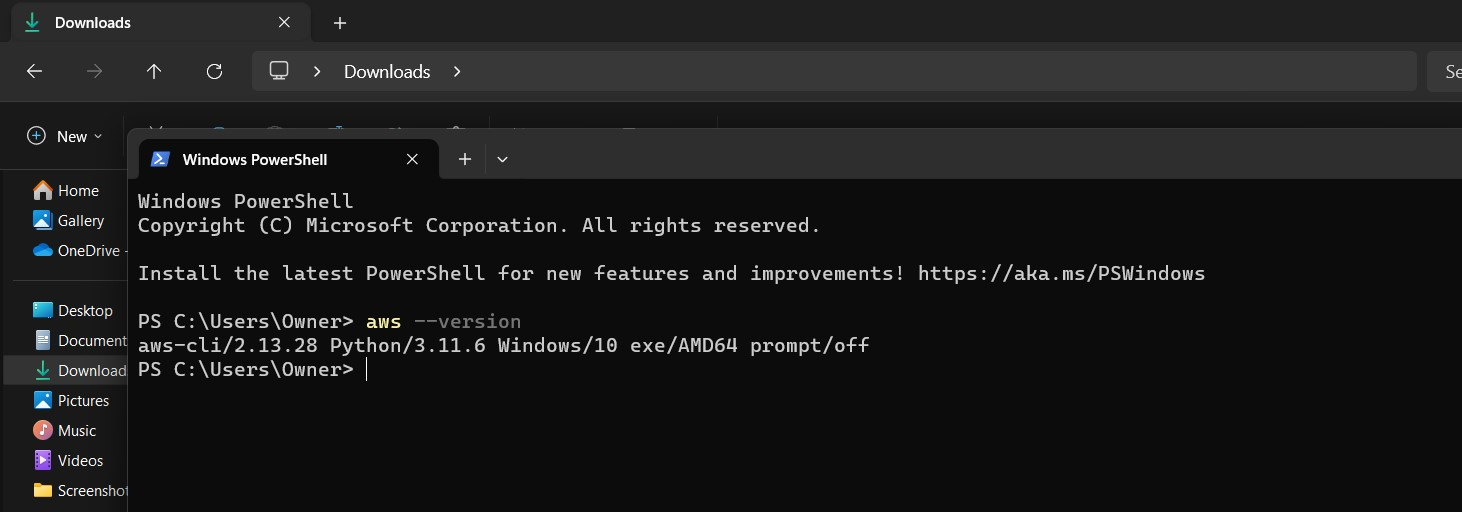
Open a Command Prompt or PowerShell window.
Type aws --version and press Enter. This command should display the AWS CLI version, confirming that the installation was successful.
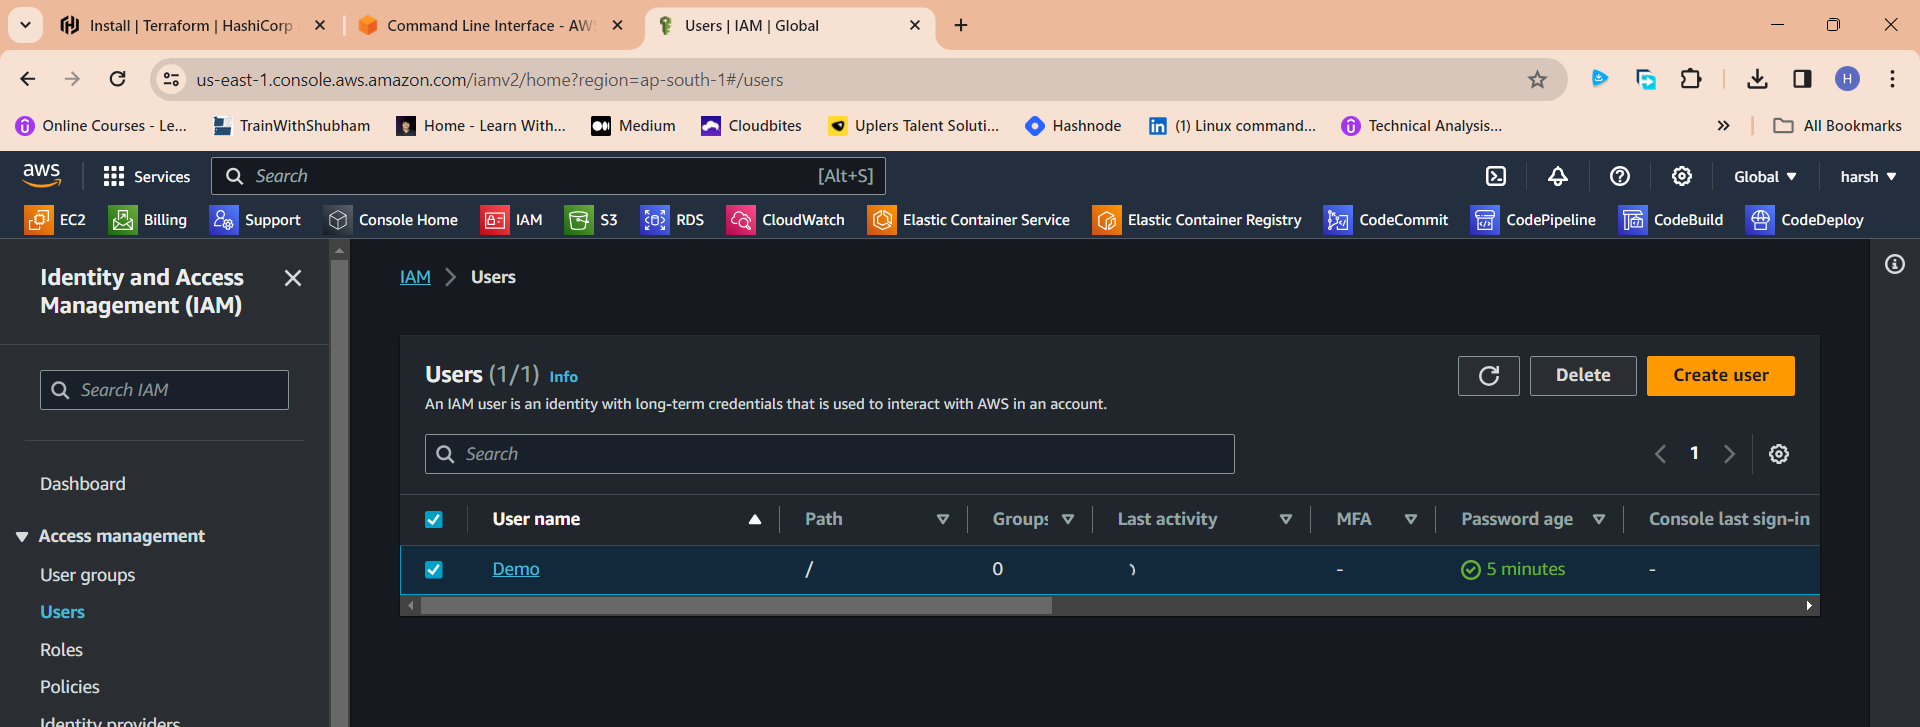
Step 3: create an IAM user
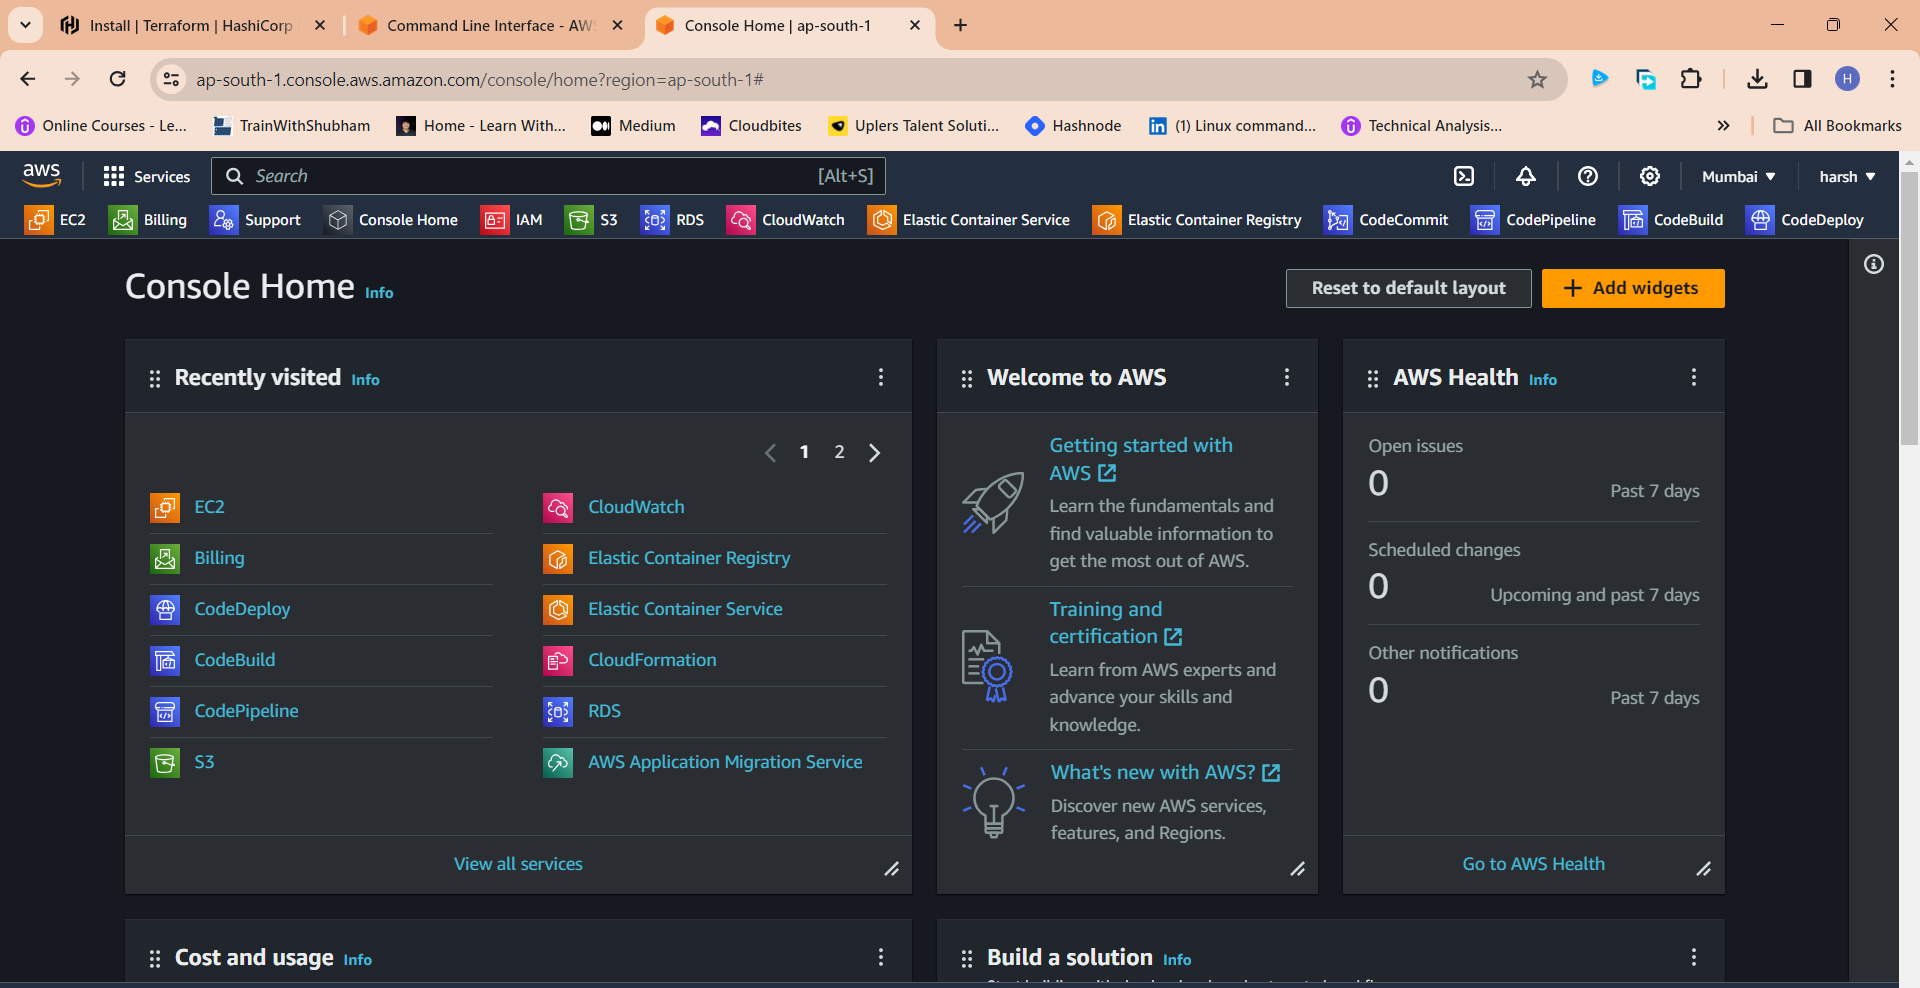
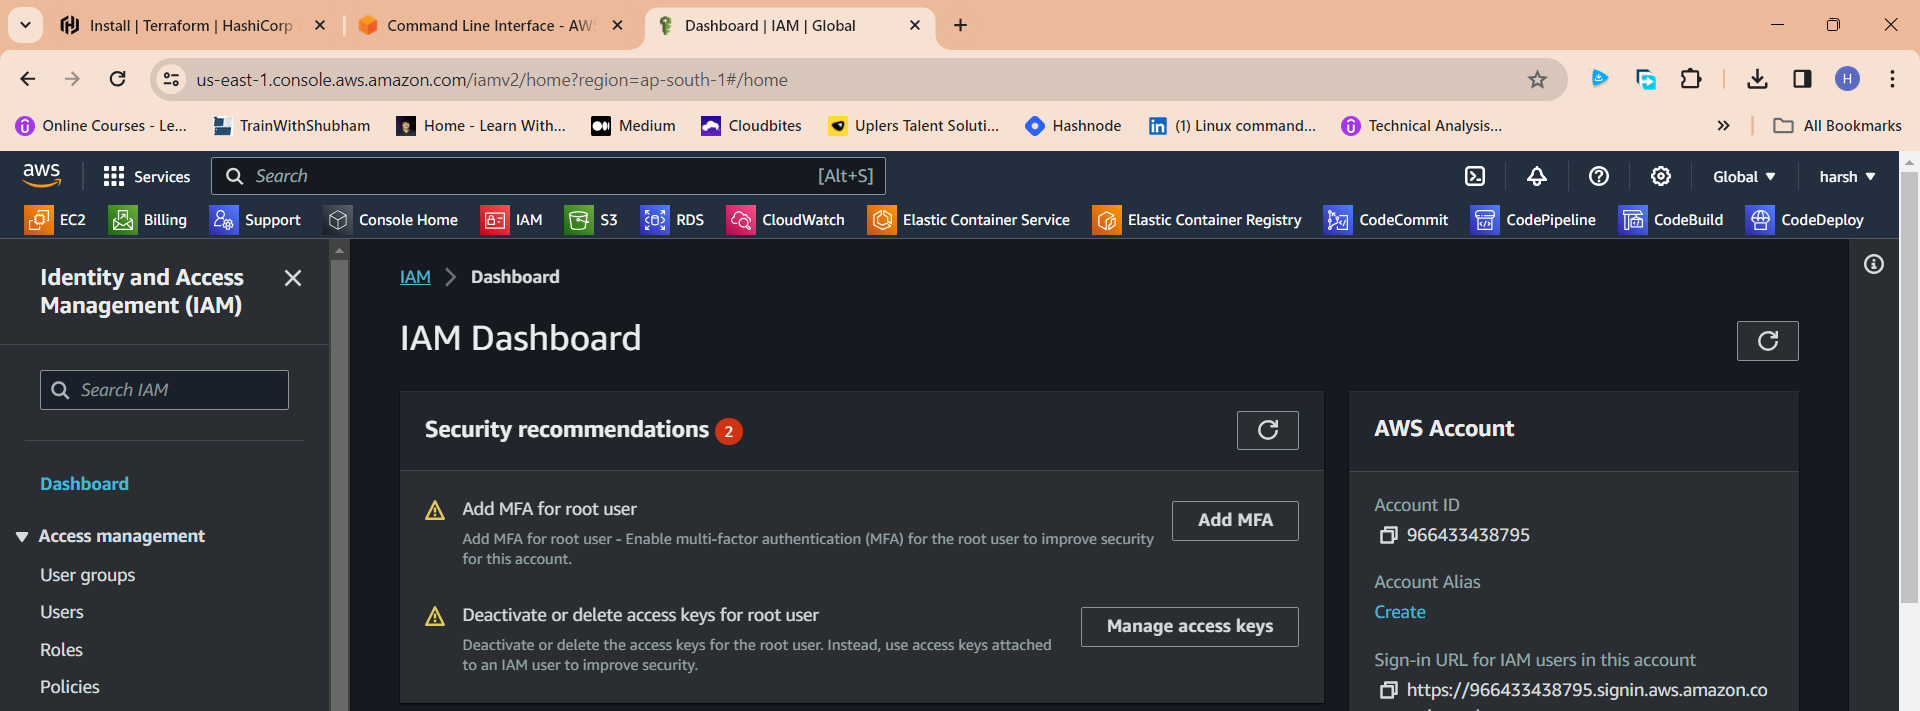
Navigate to the AWS console
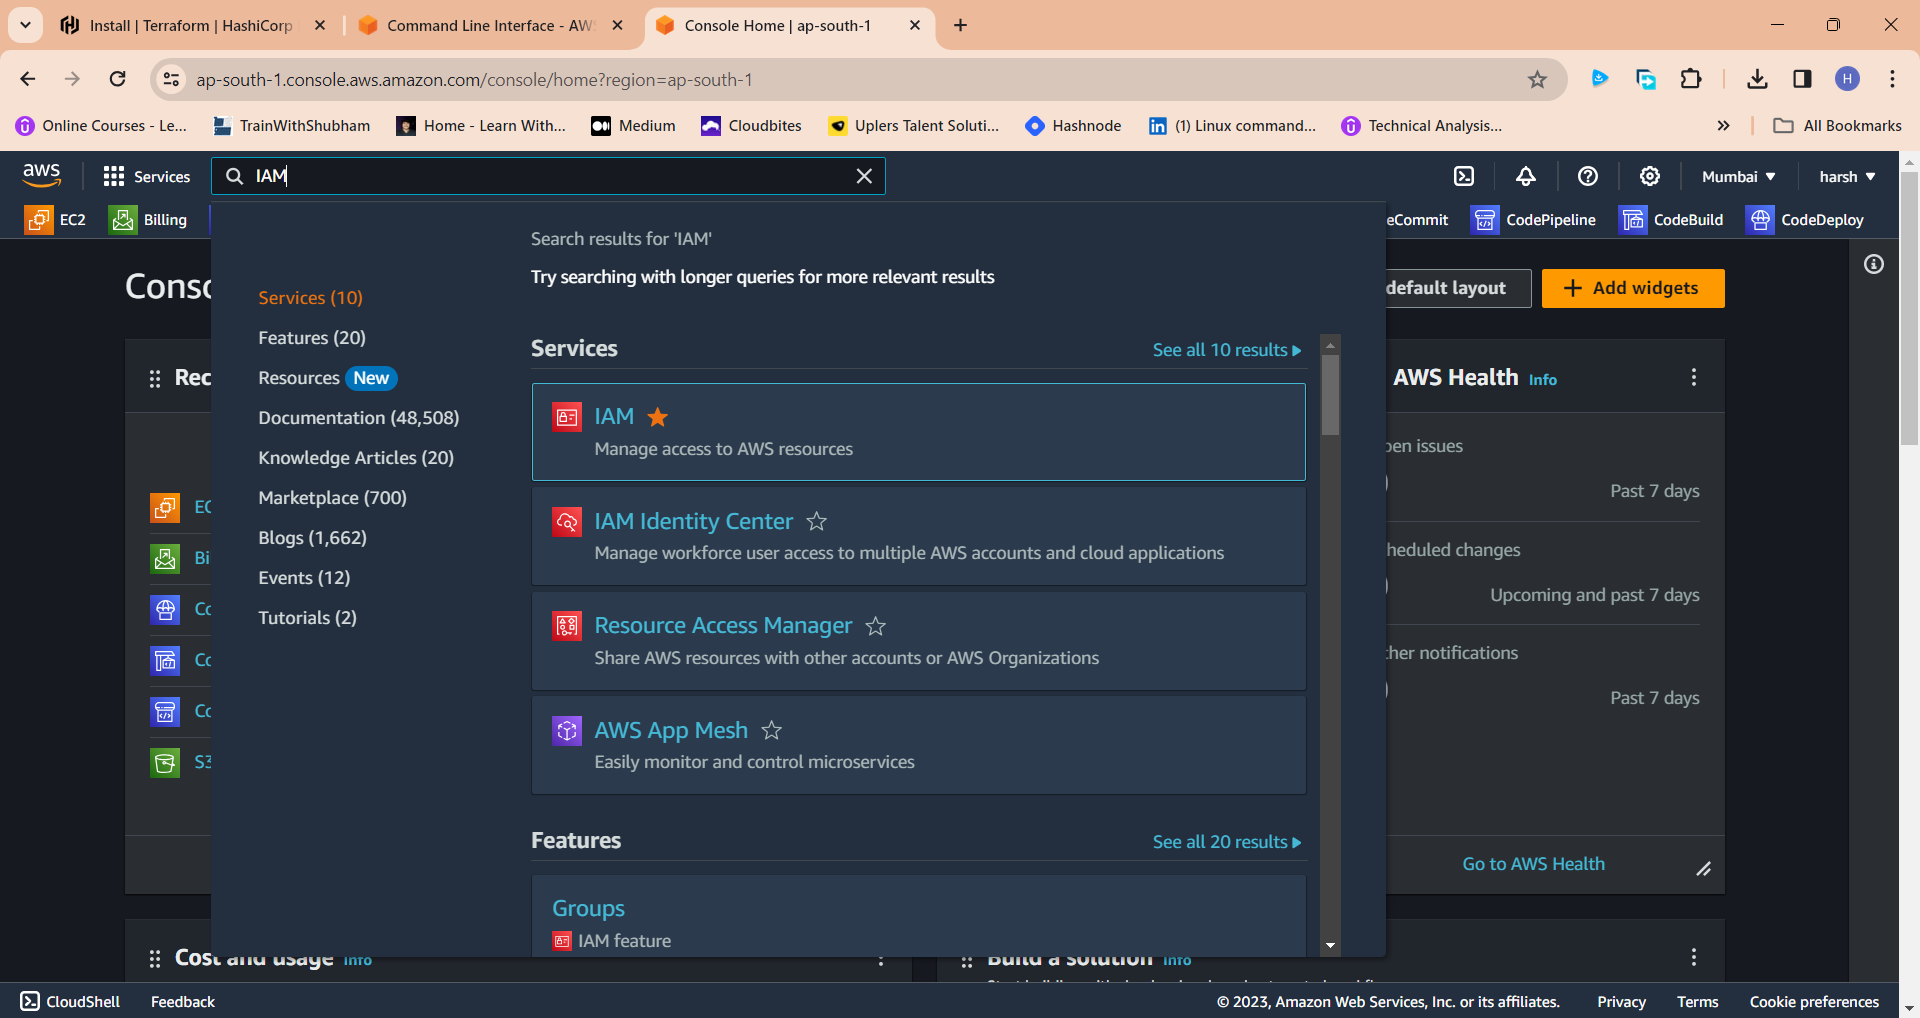
Click the "Search" field.
Search for IAM
Click "Users"
Click "Add users"
Click the "User name" field.
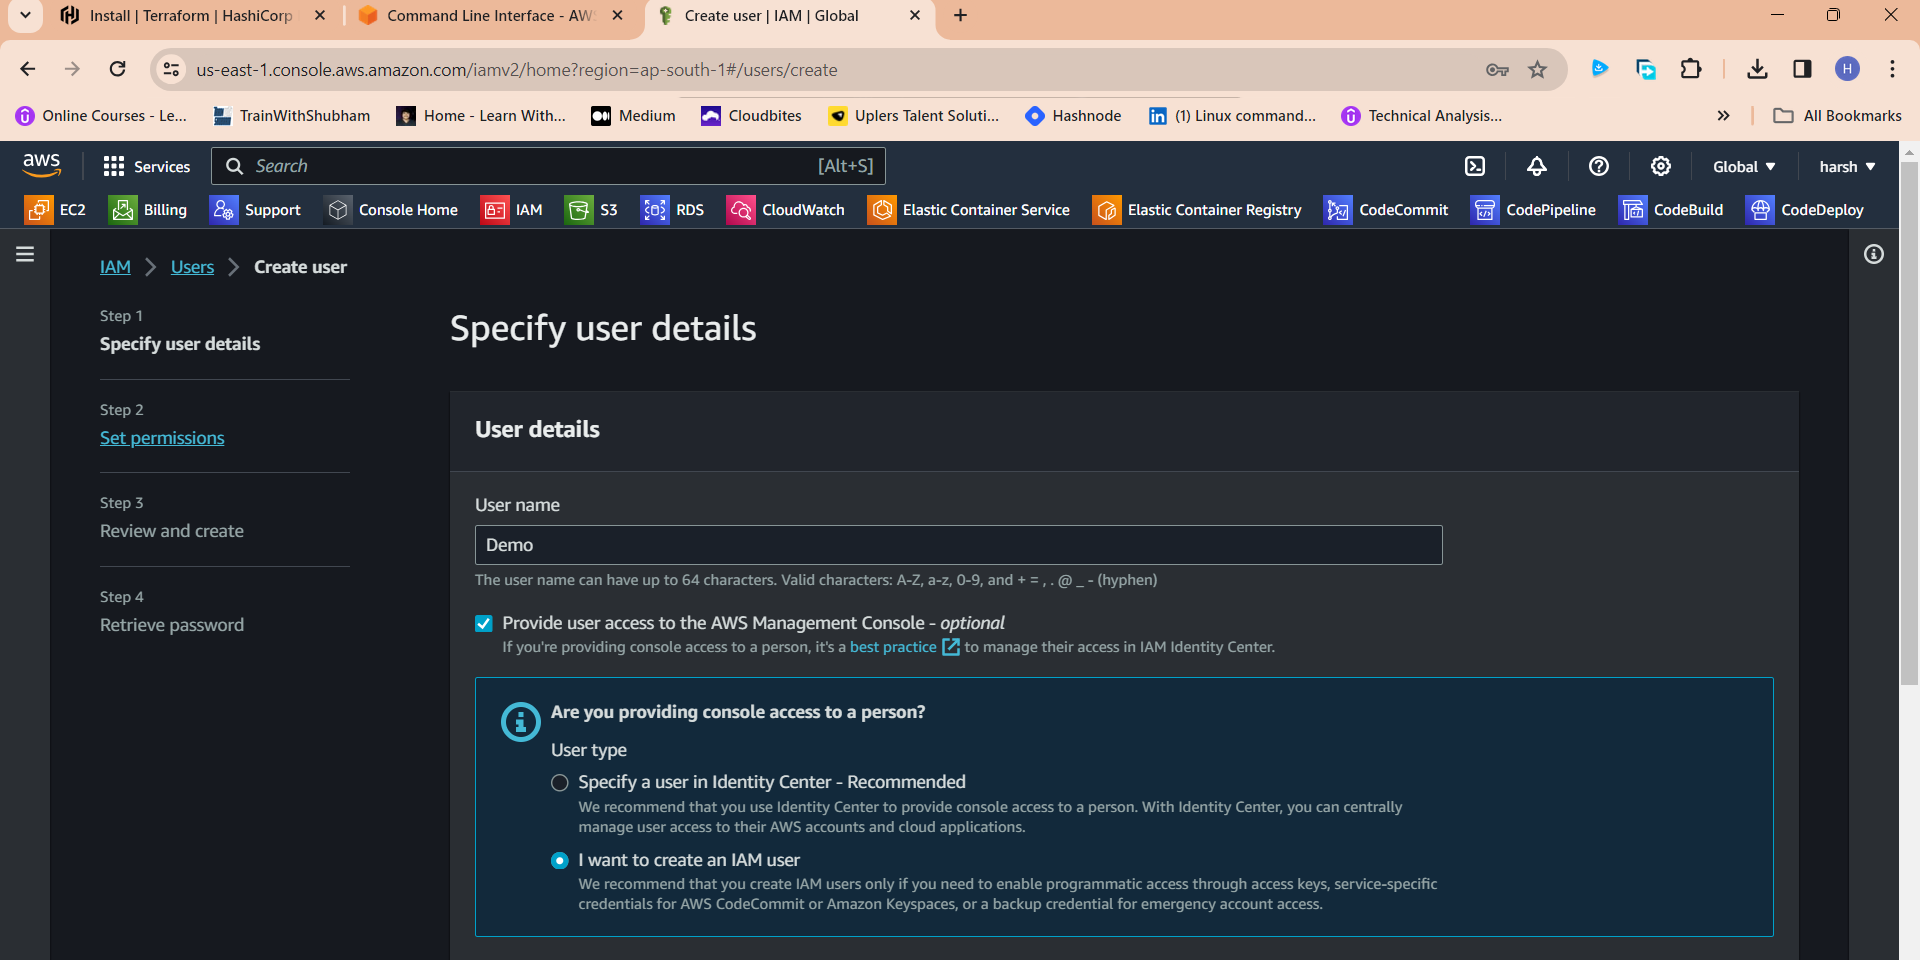
Type "Demo" or as you wish about the name
Click Next
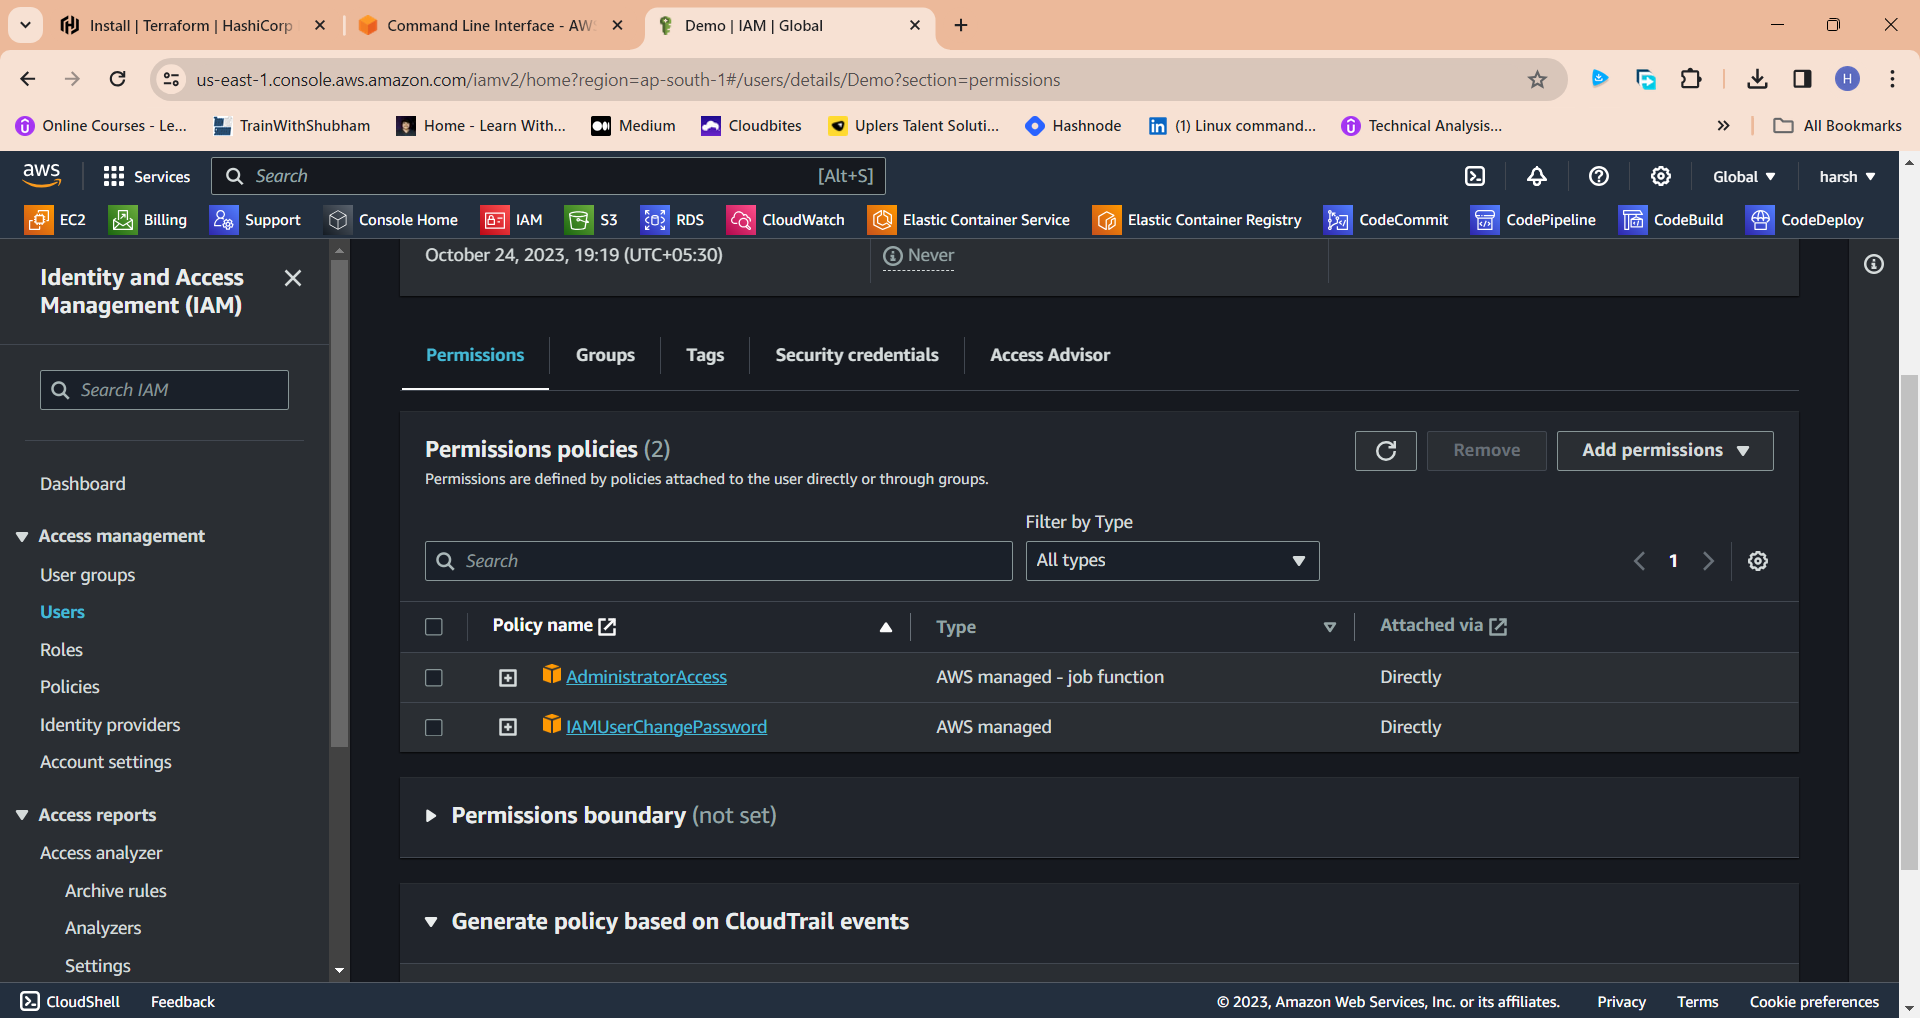
Click "Attach policies directly"
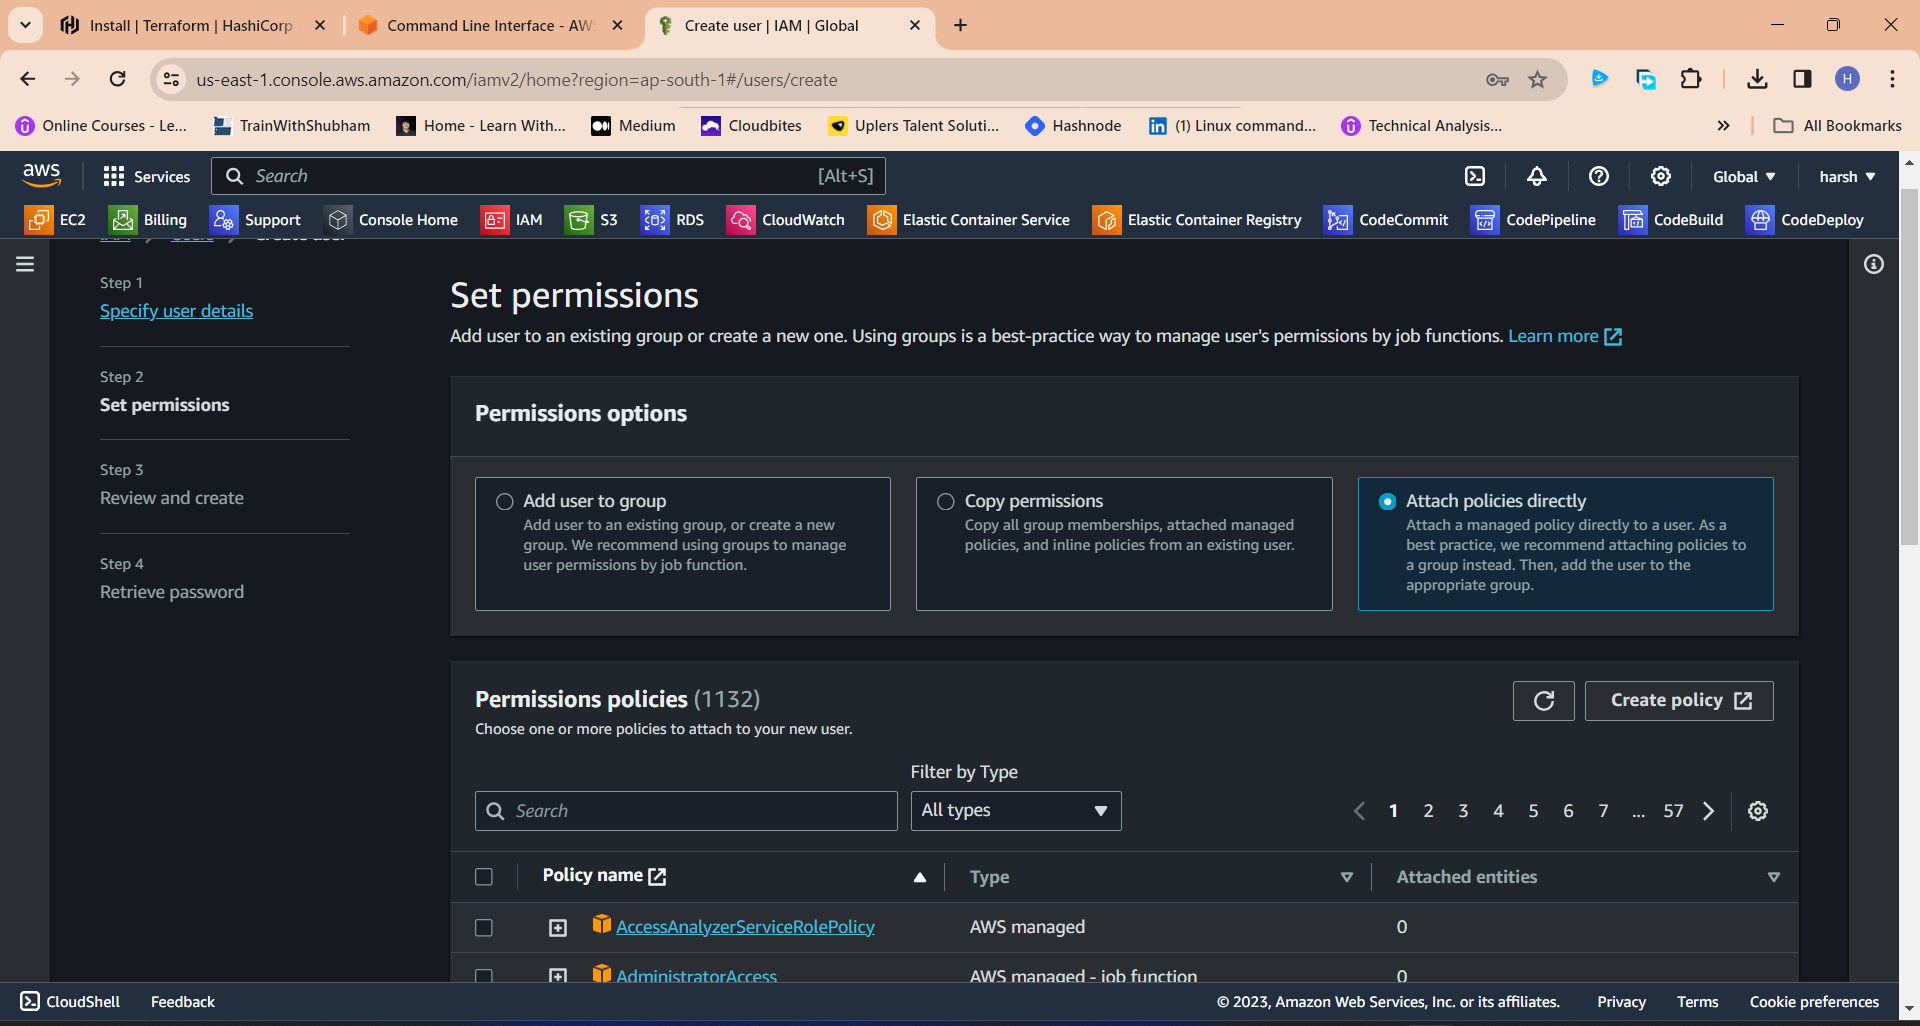
Click this checkbox with Administrator access
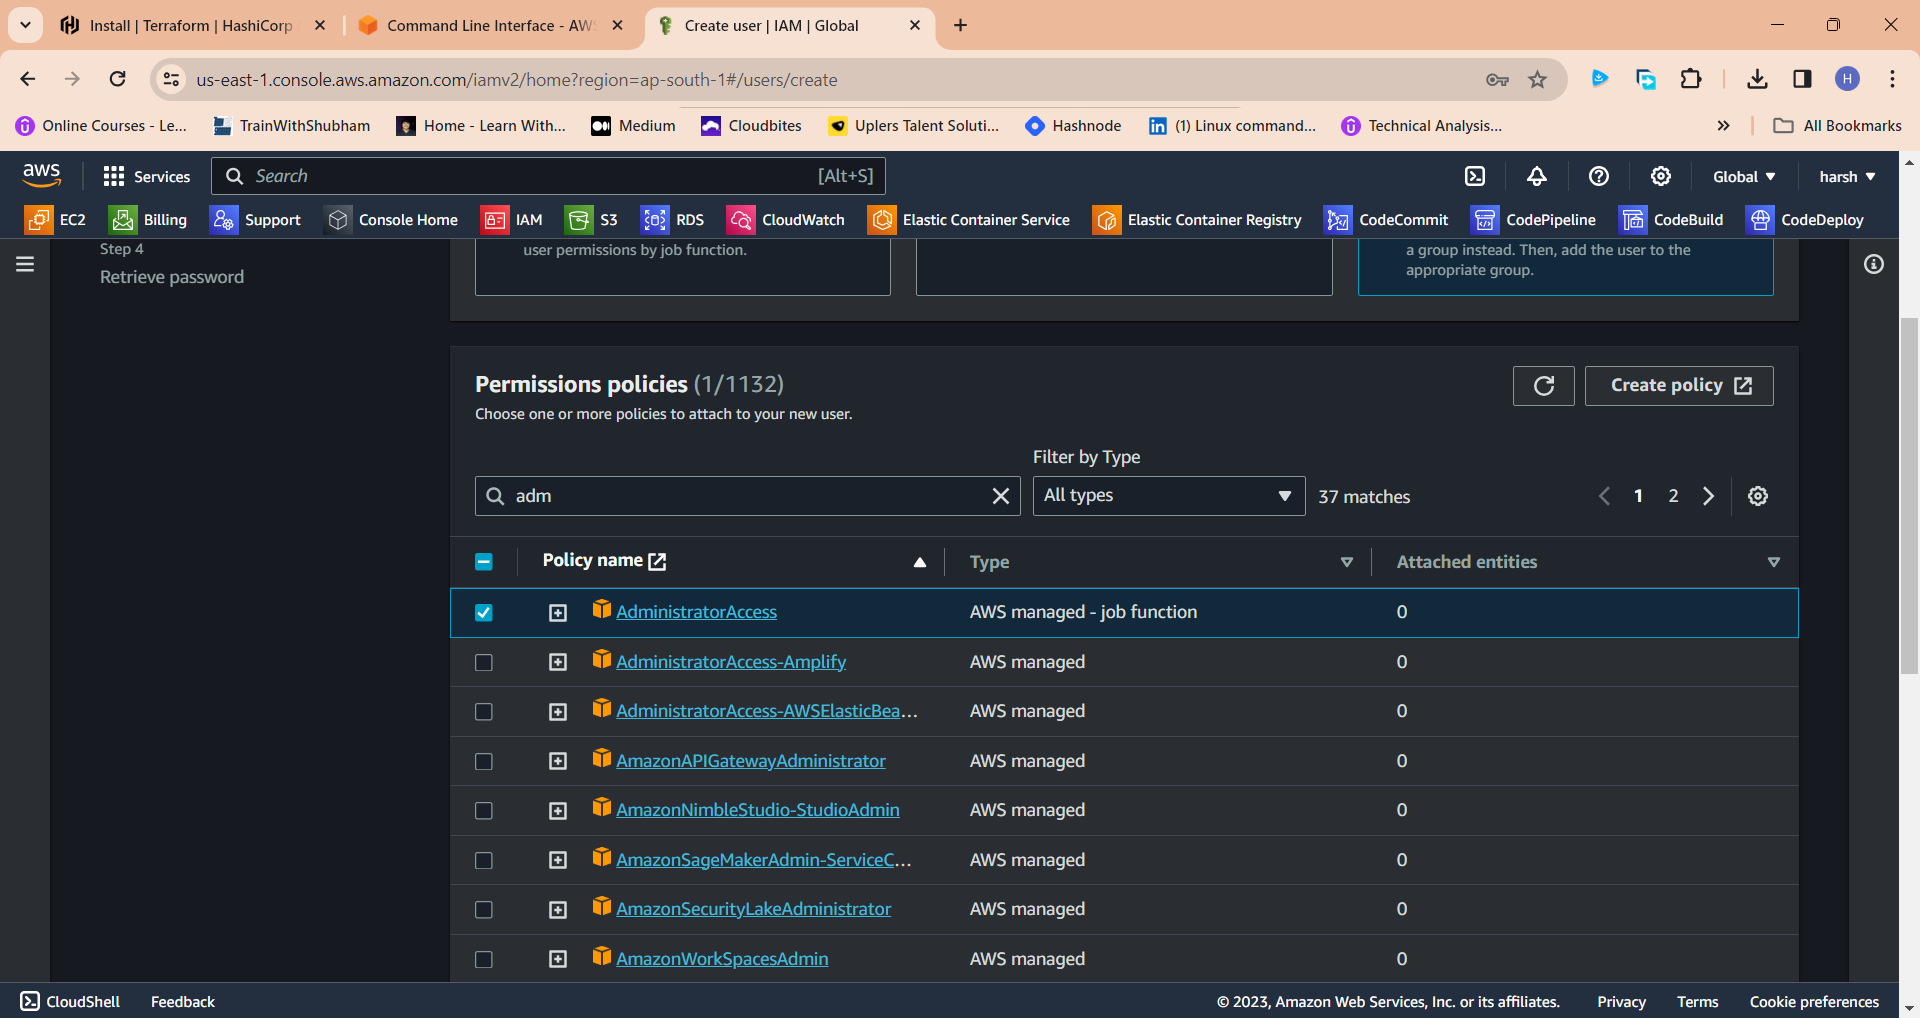
Click "Next"
Click "Create user"
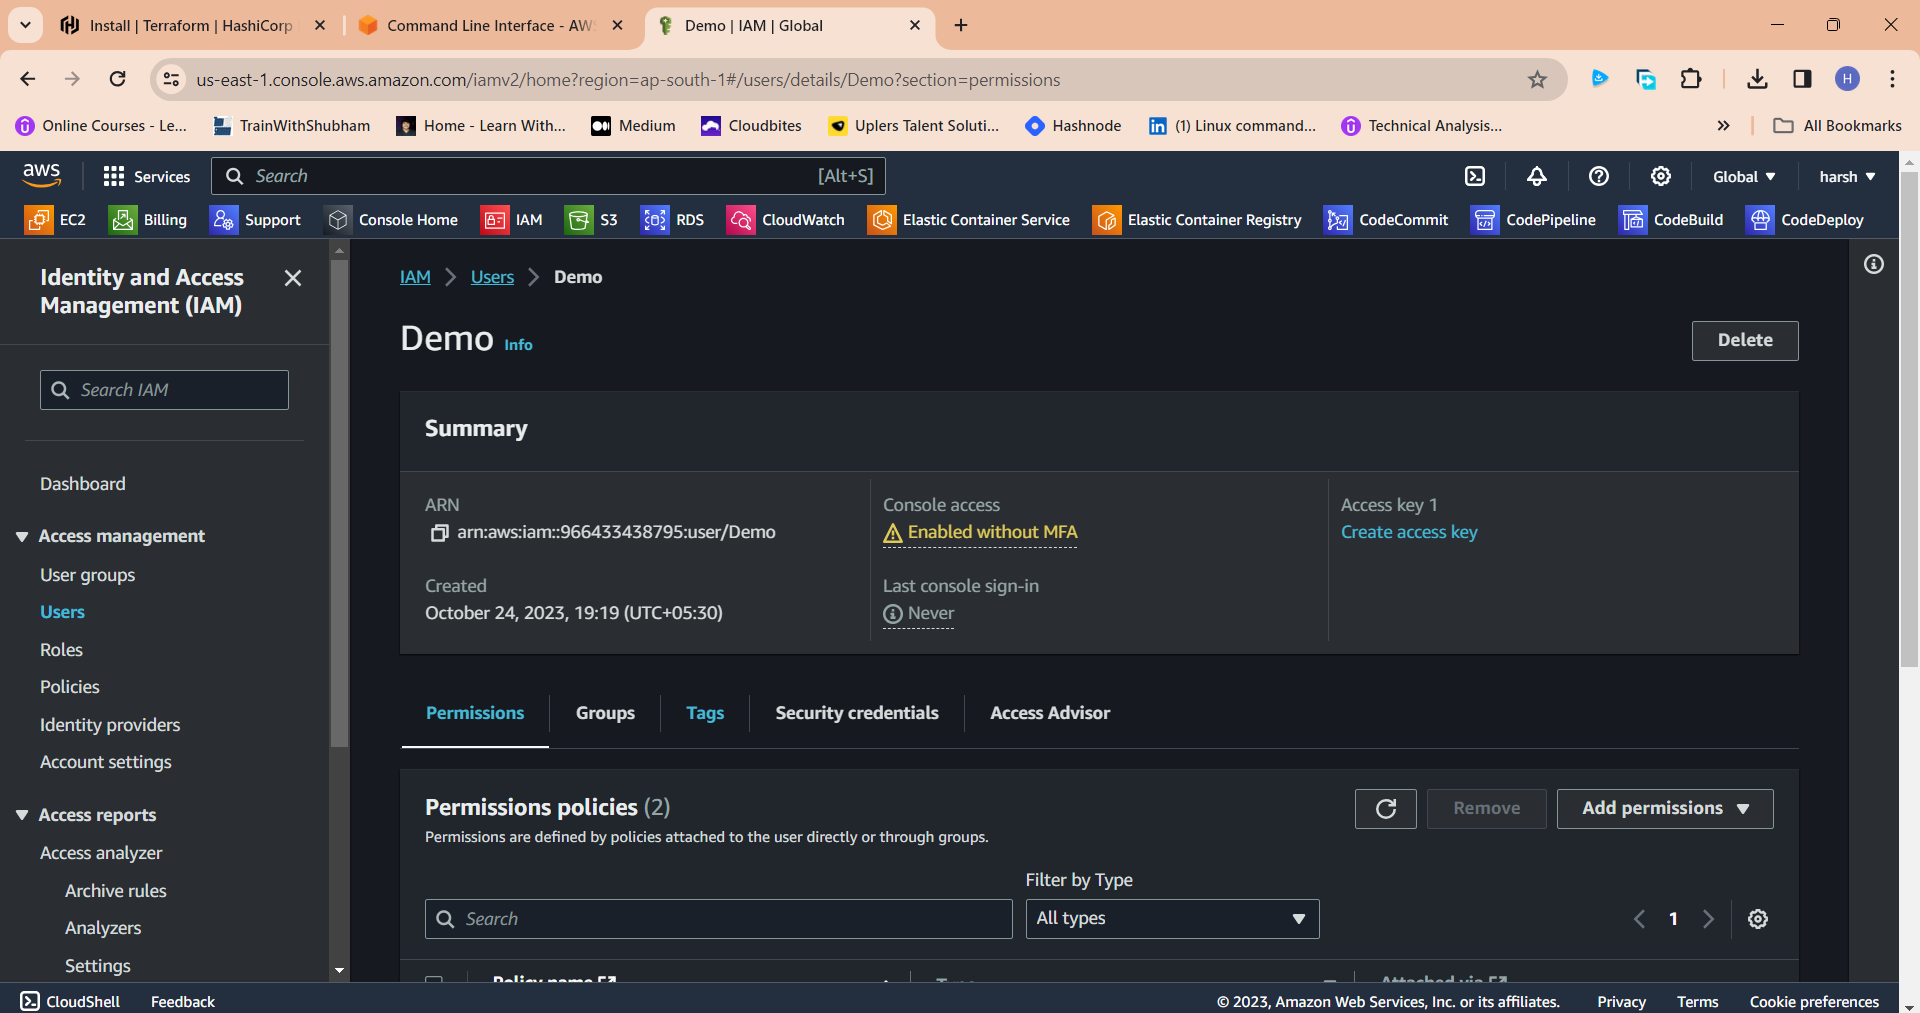
Click newly created user in my case "Demo"
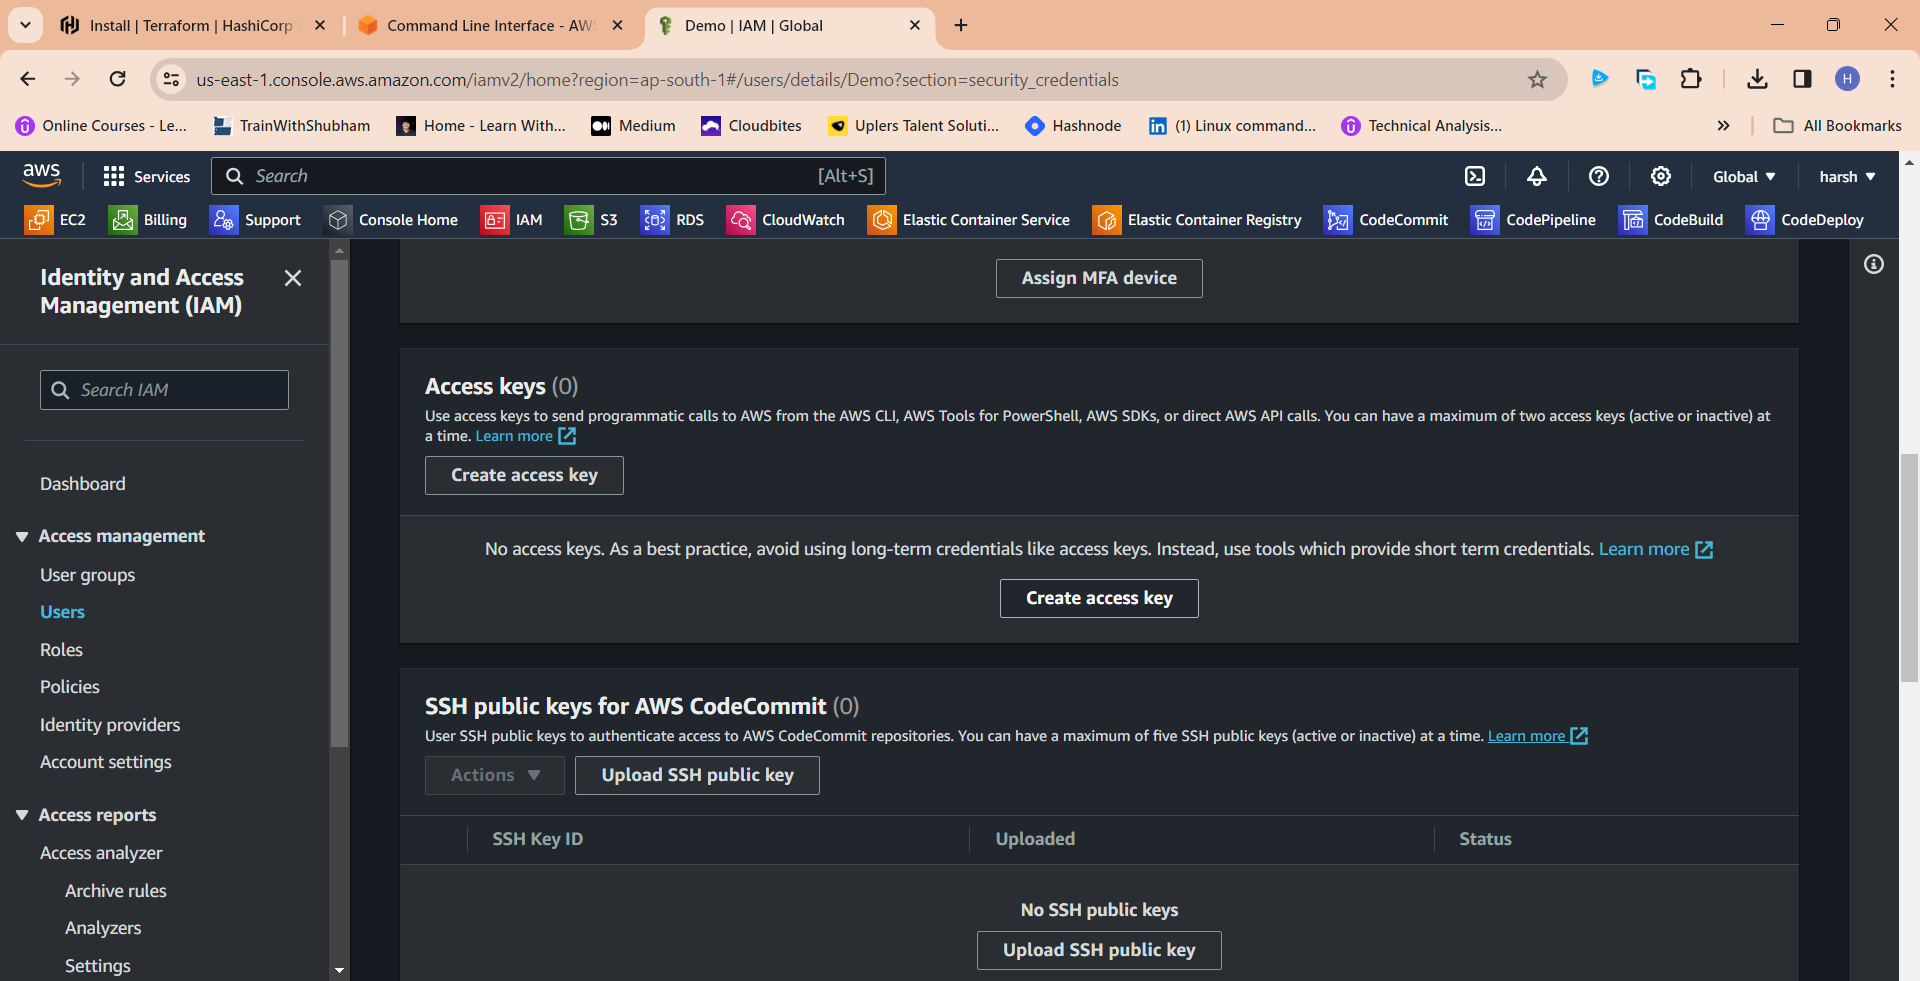
Click "Security credentials"
Click "Create access key"
Click this radio button with the CLI
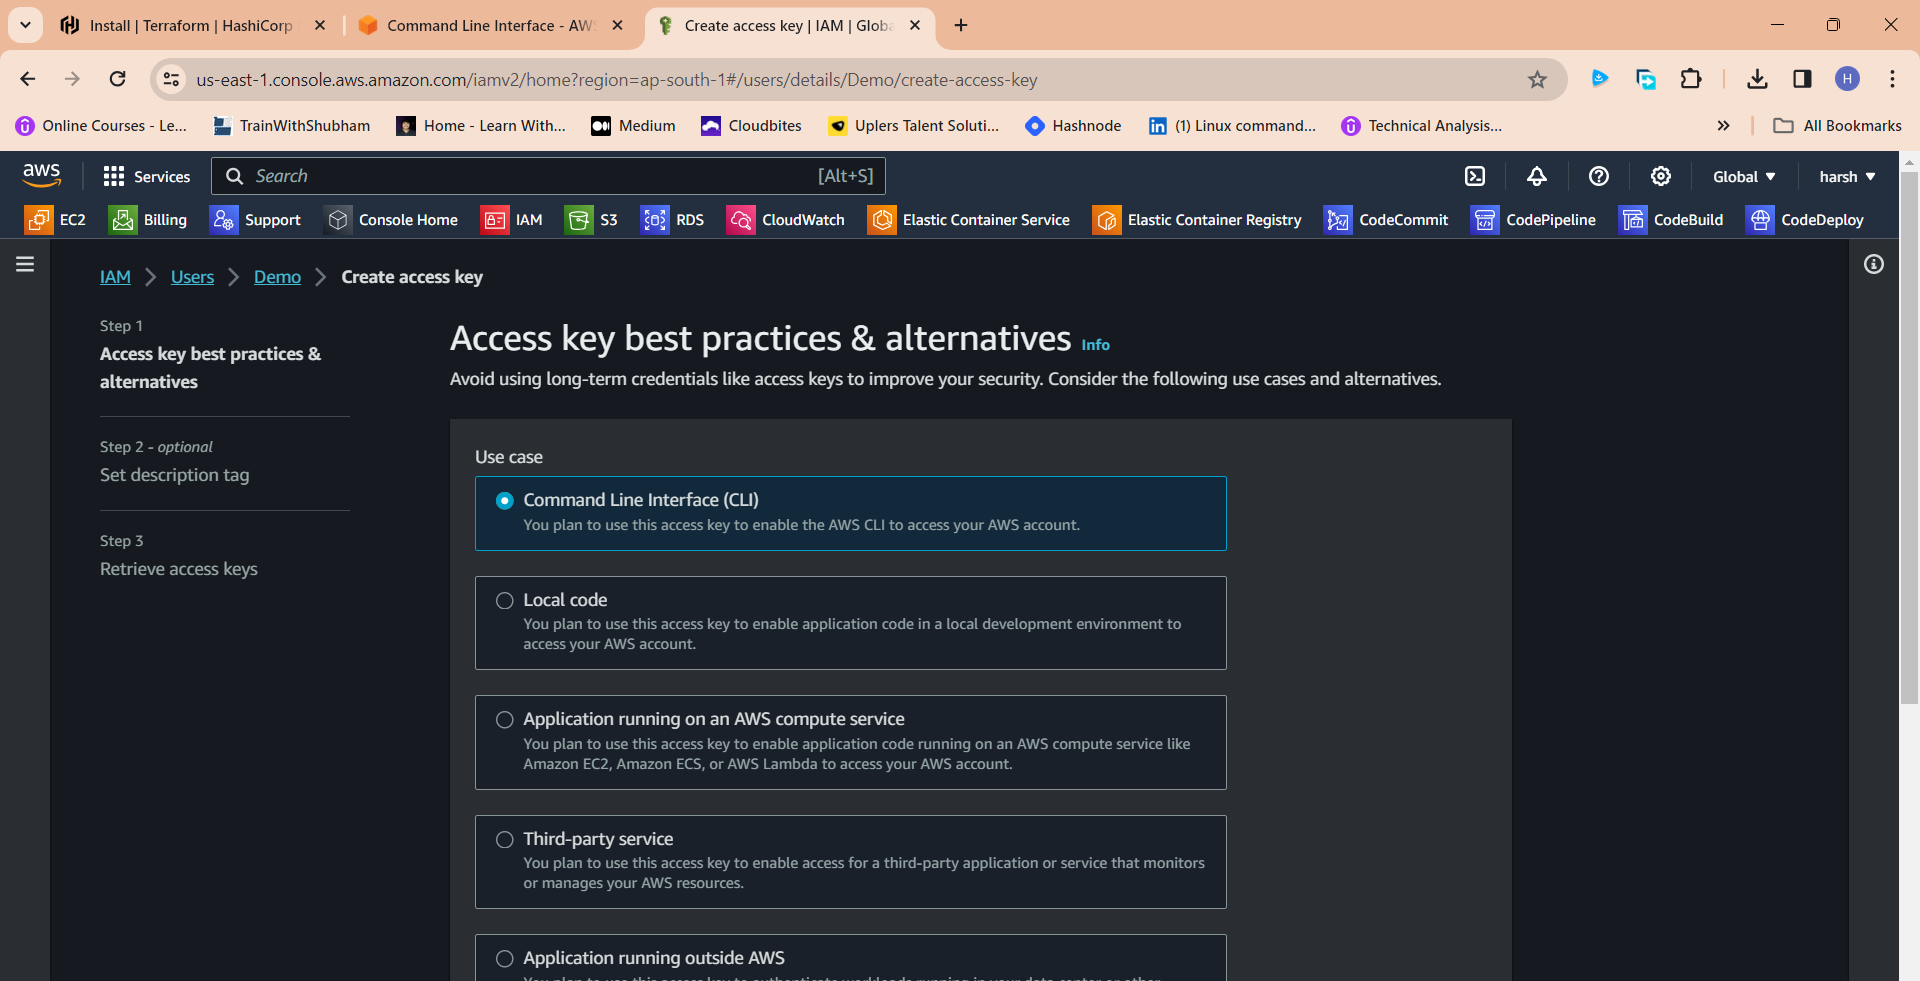
Agree to terms
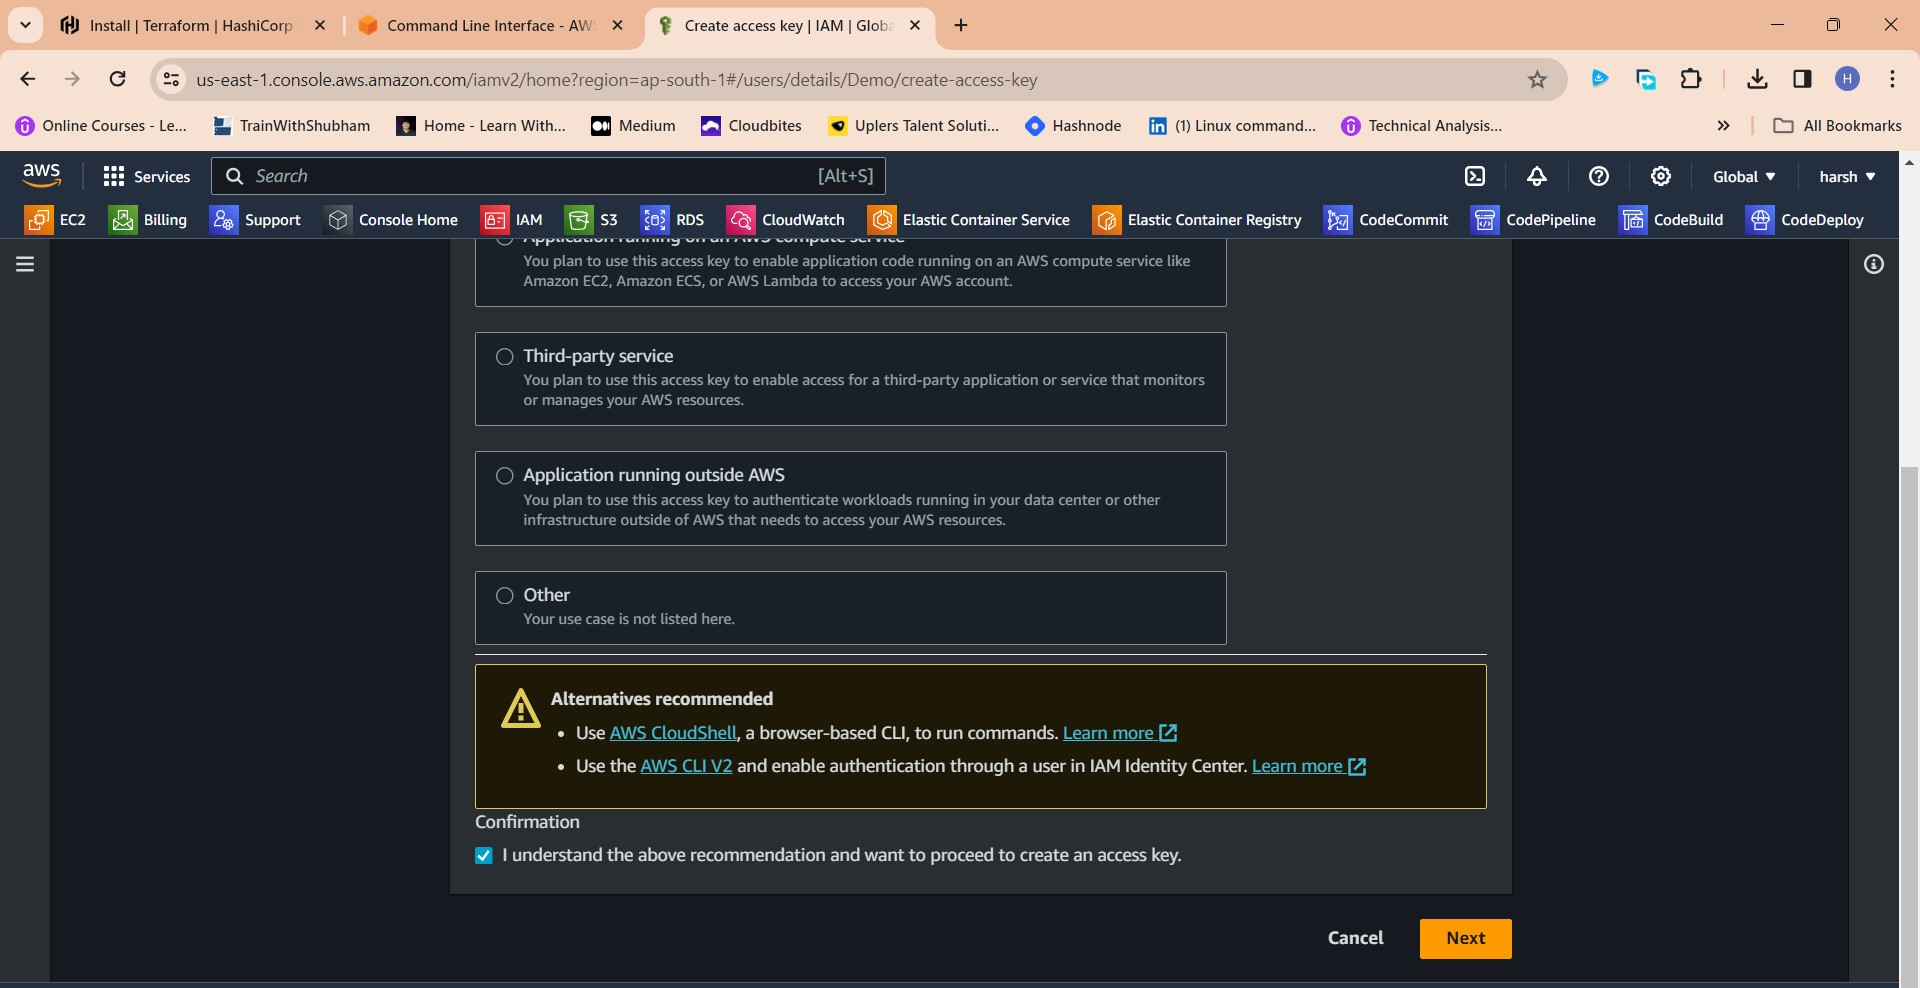
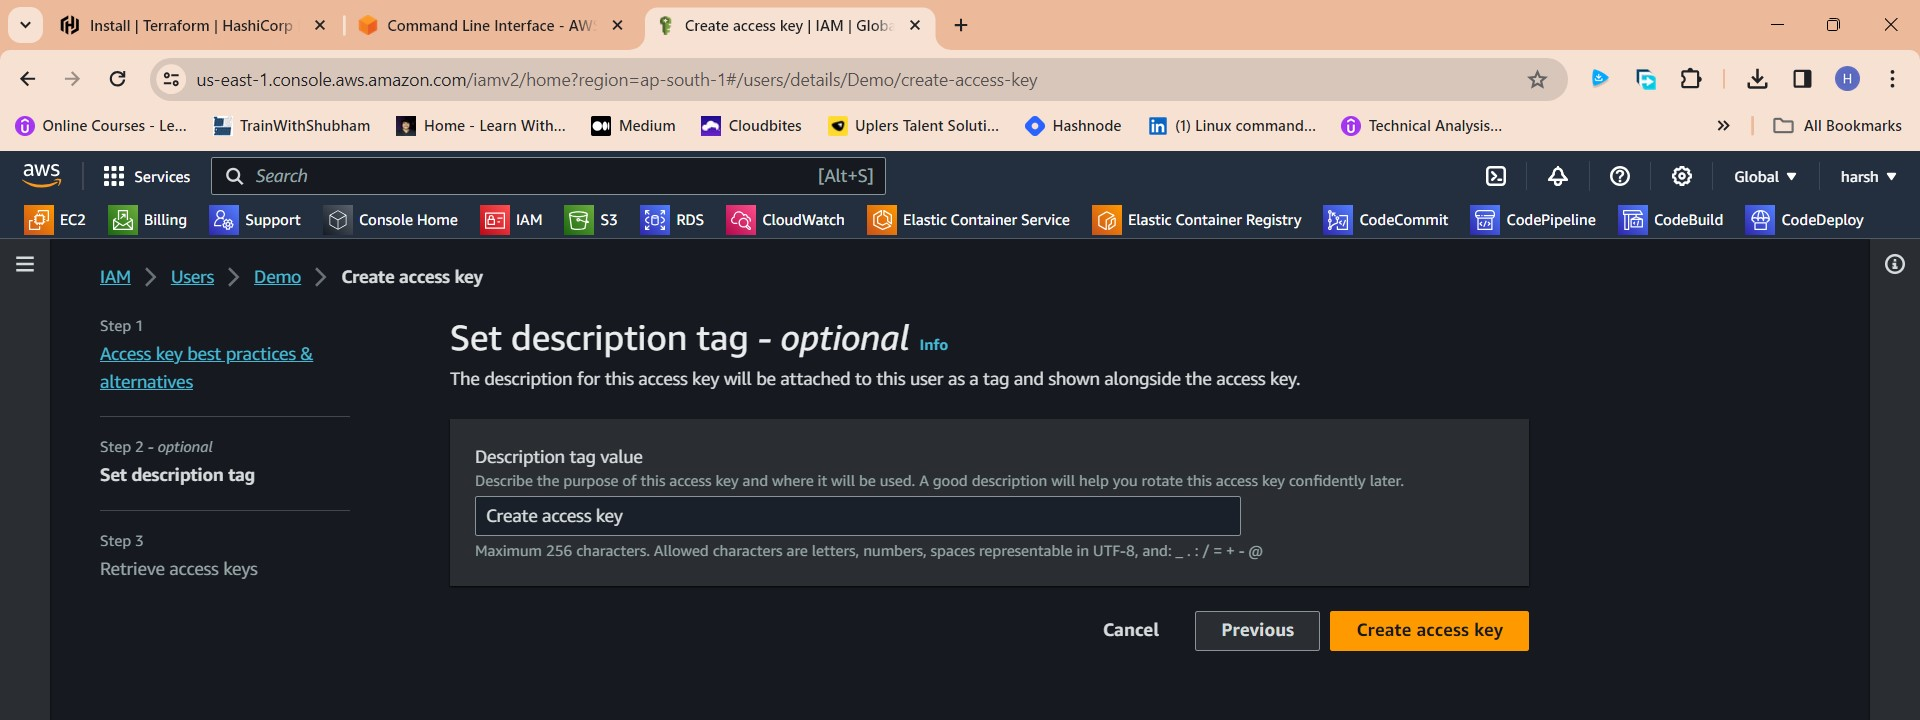
Click Next
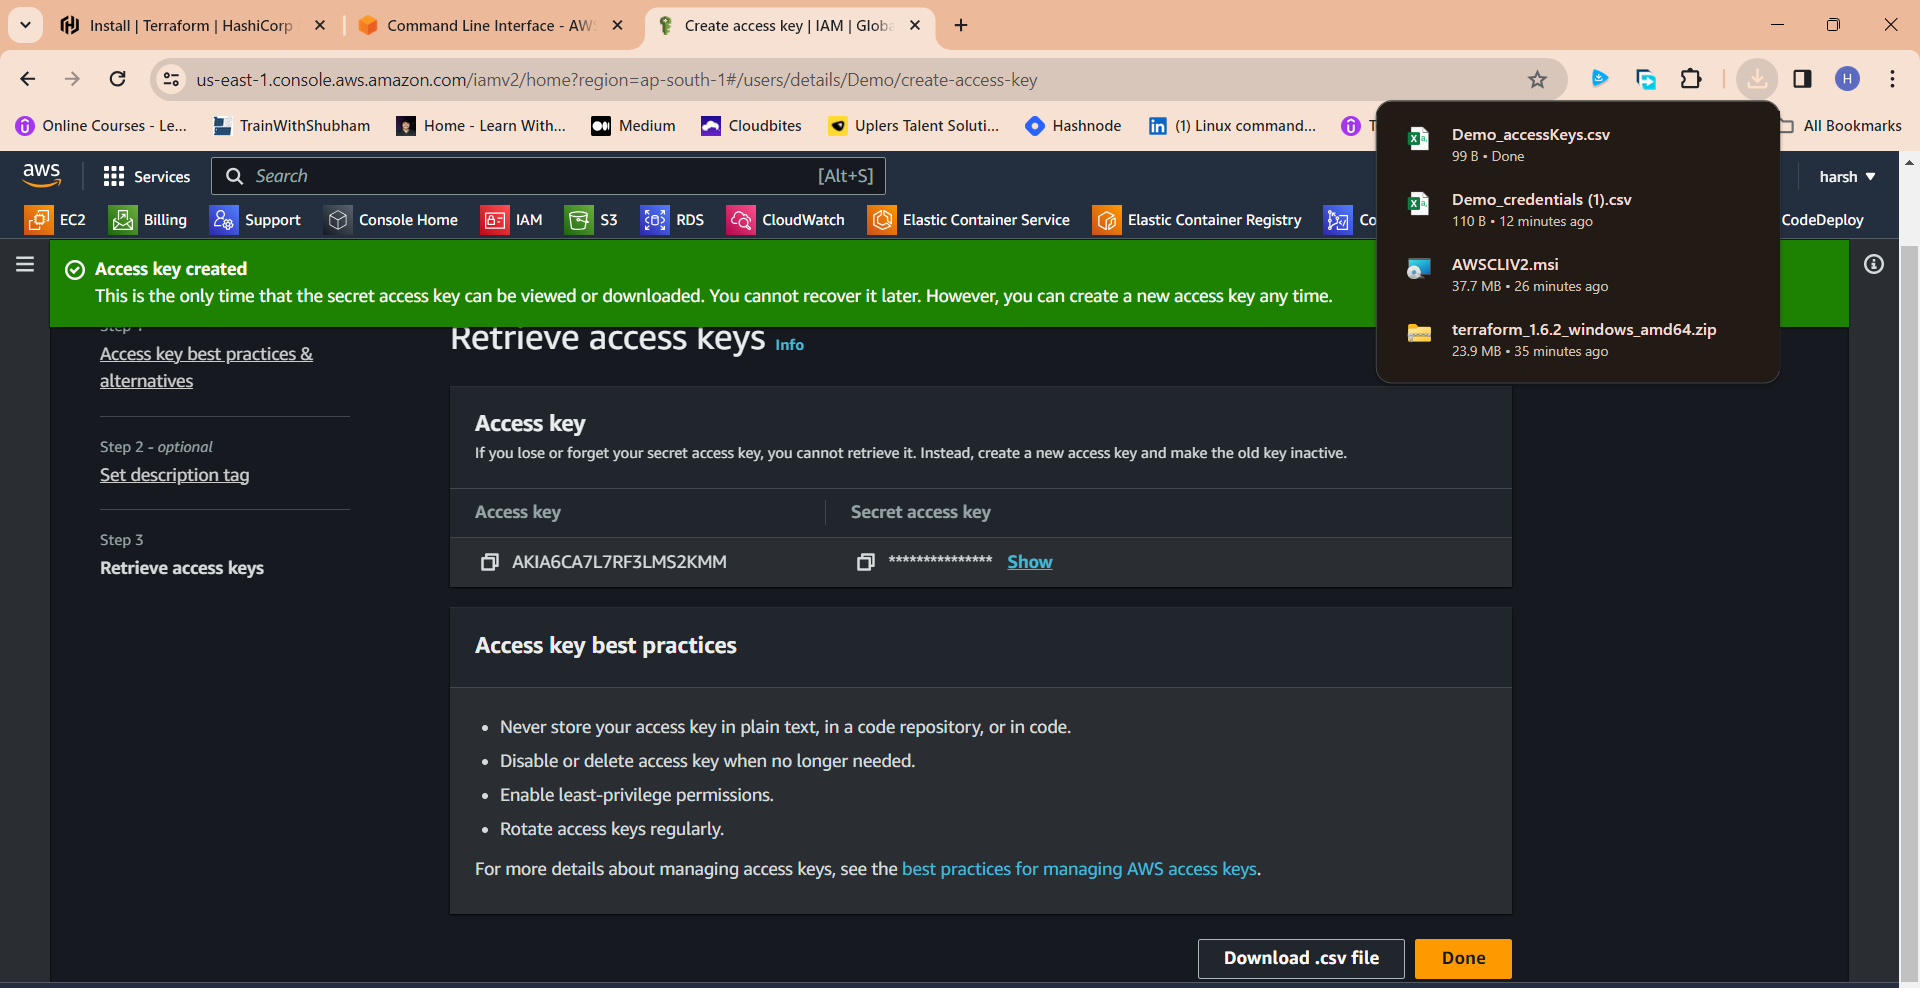
Click "Create access key"
Download .csv file
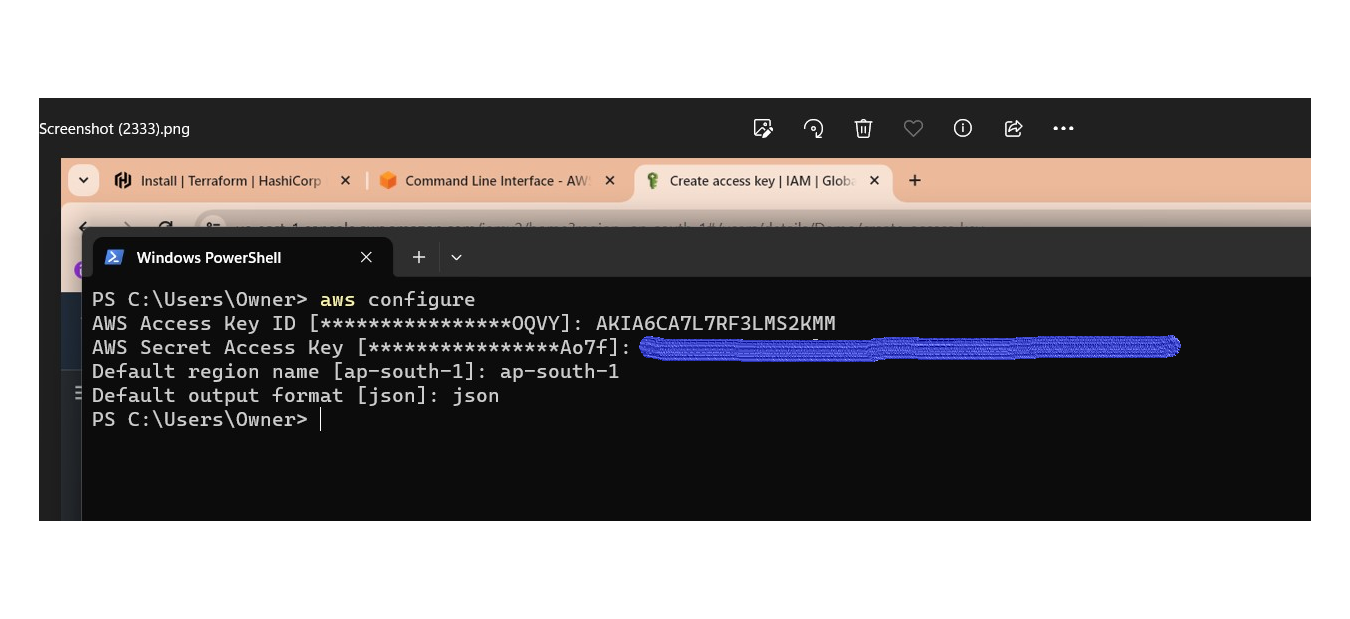
Step 4: Aws Configure
Go to vs code or Cmd your wish
aws configure
Provide your Aws Access key and Secret Access key
Step 5: Terraform files and Provision
resource "aws_instance" "web" {
  ami                    = "ami-0f5ee92e2d63afc18"   #change ami id for different region
  instance_type          = "t2.large"
  key_name               = "Mumbai"
  vpc_security_group_ids = [aws_security_group.Jenkins-sg.id]
  user_data              = templatefile("./install.sh", {})

  tags = {
    Name = "Jenkins-sonarqube"
  }

  root_block_device {
    volume_size = 30
  }
}

resource "aws_security_group" "Jenkins-sg" {
  name        = "Jenkins-sg"
  description = "Allow TLS inbound traffic"

  ingress = [
    for port in [22, 80, 443, 8080, 9000] : {
      description      = "inbound rules"
      from_port        = port
      to_port          = port
      protocol         = "tcp"
      cidr_blocks      = ["0.0.0.0/0"]
      ipv6_cidr_blocks = []
      prefix_list_ids  = []
      security_groups  = []
      self             = false
    }
  ]

  egress {
    from_port   = 0
    to_port     = 0
    protocol    = "-1"
    cidr_blocks = ["0.0.0.0/0"]
  }

  tags = {
    Name = "jenkins-sg"
  }
}
terraform {
  required_providers {
    aws = {
      source  = "hashicorp/aws"
      version = "~> 5.0"
    }
  }
}

# Configure the AWS Provider
provider "aws" {
  region = "ap-south-1"  #change your region
}
This will install Jenkins and Docker and Sonarqube and trivy
#!/bin/bash
sudo apt update -y
wget -O - https://packages.adoptium.net/artifactory/api/gpg/key/public | tee /etc/apt/keyrings/adoptium.asc
echo "deb [signed-by=/etc/apt/keyrings/adoptium.asc] https://packages.adoptium.net/artifactory/deb $(awk -F= '/^VERSION_CODENAME/{print$2}' /etc/os-release) main" | tee /etc/apt/sources.list.d/adoptium.list
sudo apt update -y
sudo apt install temurin-17-jdk -y
/usr/bin/java --version
curl -fsSL https://pkg.jenkins.io/debian-stable/jenkins.io-2023.key | sudo tee /usr/share/keyrings/jenkins-keyring.asc > /dev/null
echo deb [signed-by=/usr/share/keyrings/jenkins-keyring.asc] https://pkg.jenkins.io/debian-stable binary/ | sudo tee /etc/apt/sources.list.d/jenkins.list > /dev/null
sudo apt-get update -y
sudo apt-get install jenkins -y
sudo systemctl start jenkins
sudo systemctl status jenkins

#install docker
sudo apt-get update
sudo apt-get install docker.io -y
sudo usermod -aG docker ubuntu
newgrp docker
sudo chmod 777 /var/run/docker.sock
docker run -d --name sonar -p 9000:9000 sonarqube:lts-community

#install trivy
sudo apt-get install wget apt-transport-https gnupg lsb-release -y
wget -qO - https://aquasecurity.github.io/trivy-repo/deb/public.key | gpg --dearmor | sudo tee /usr/share/keyrings/trivy.gpg > /dev/null
echo "deb [signed-by=/usr/share/keyrings/trivy.gpg] https://aquasecurity.github.io/trivy-repo/deb $(lsb_release -sc) main" | sudo tee -a /etc/apt/sources.list.d/trivy.list
sudo apt-get update
sudo apt-get install trivy -y
Terraform commands to provision
terraform init
terraform validate
terraform plan
terraform apply
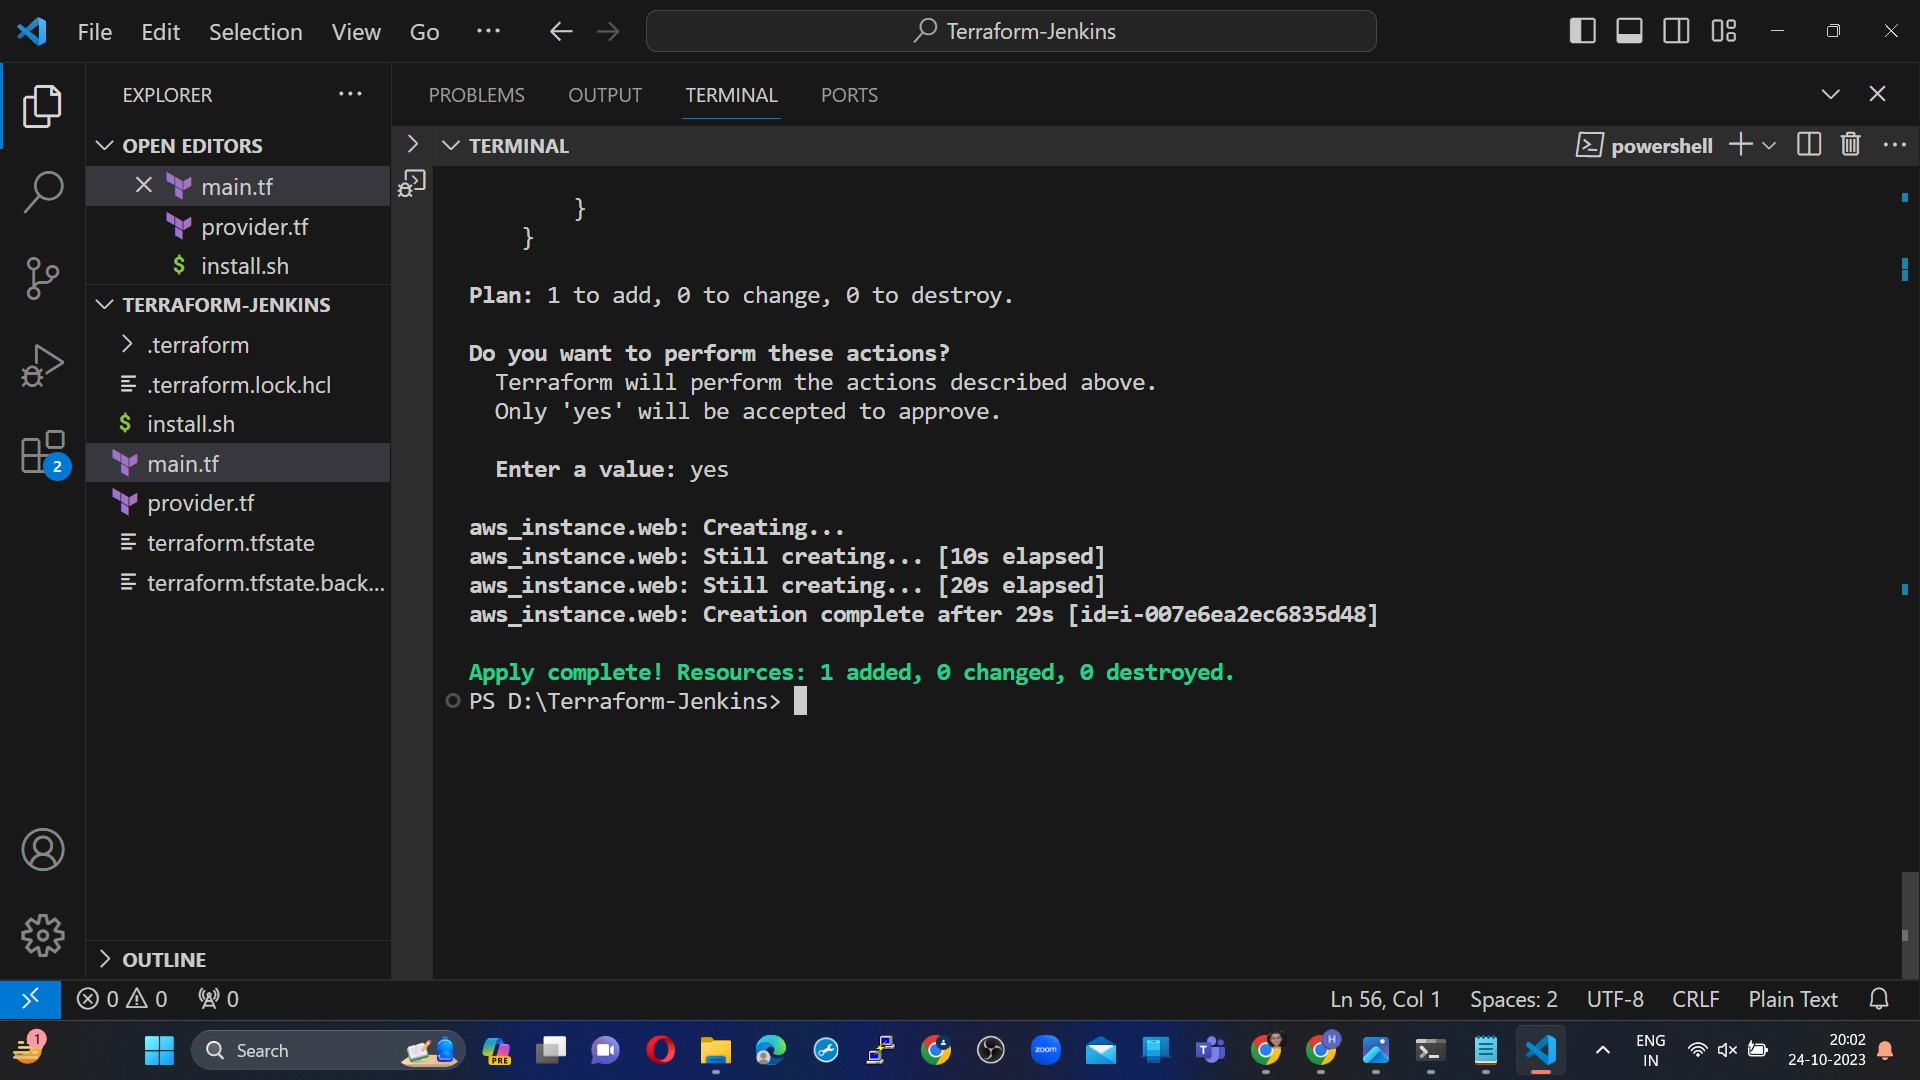
output
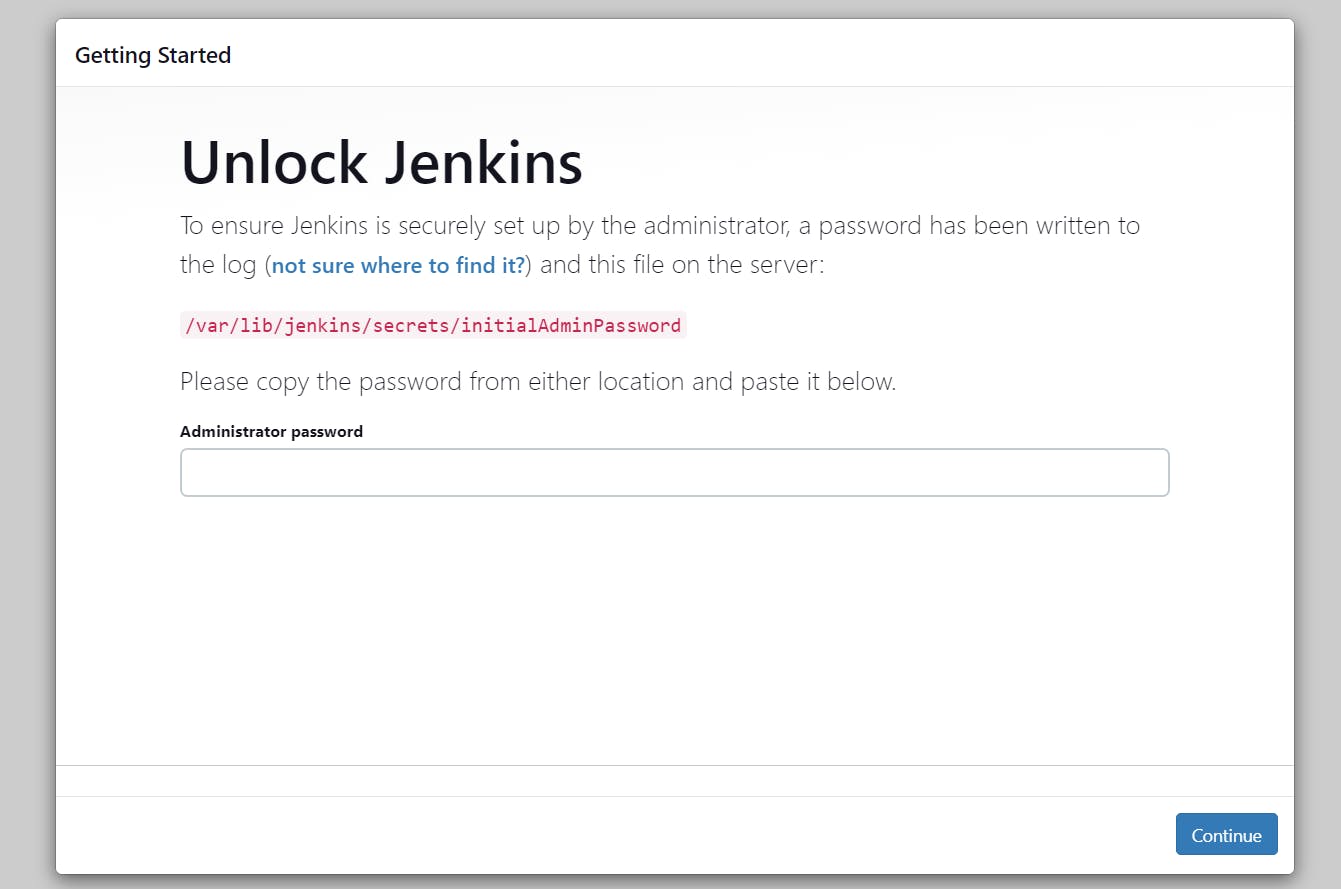
<instance-ip:8080> #jenkins
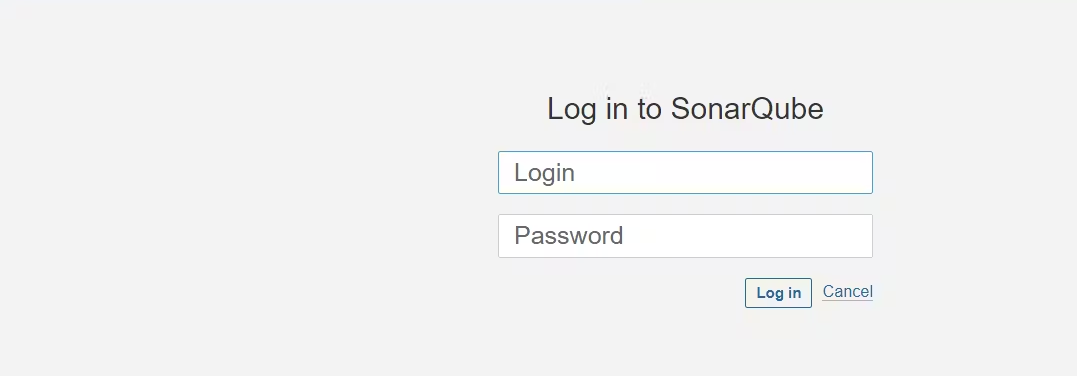
<instance-ip:9000> sonarqube
trivy --version #connect to putty and see
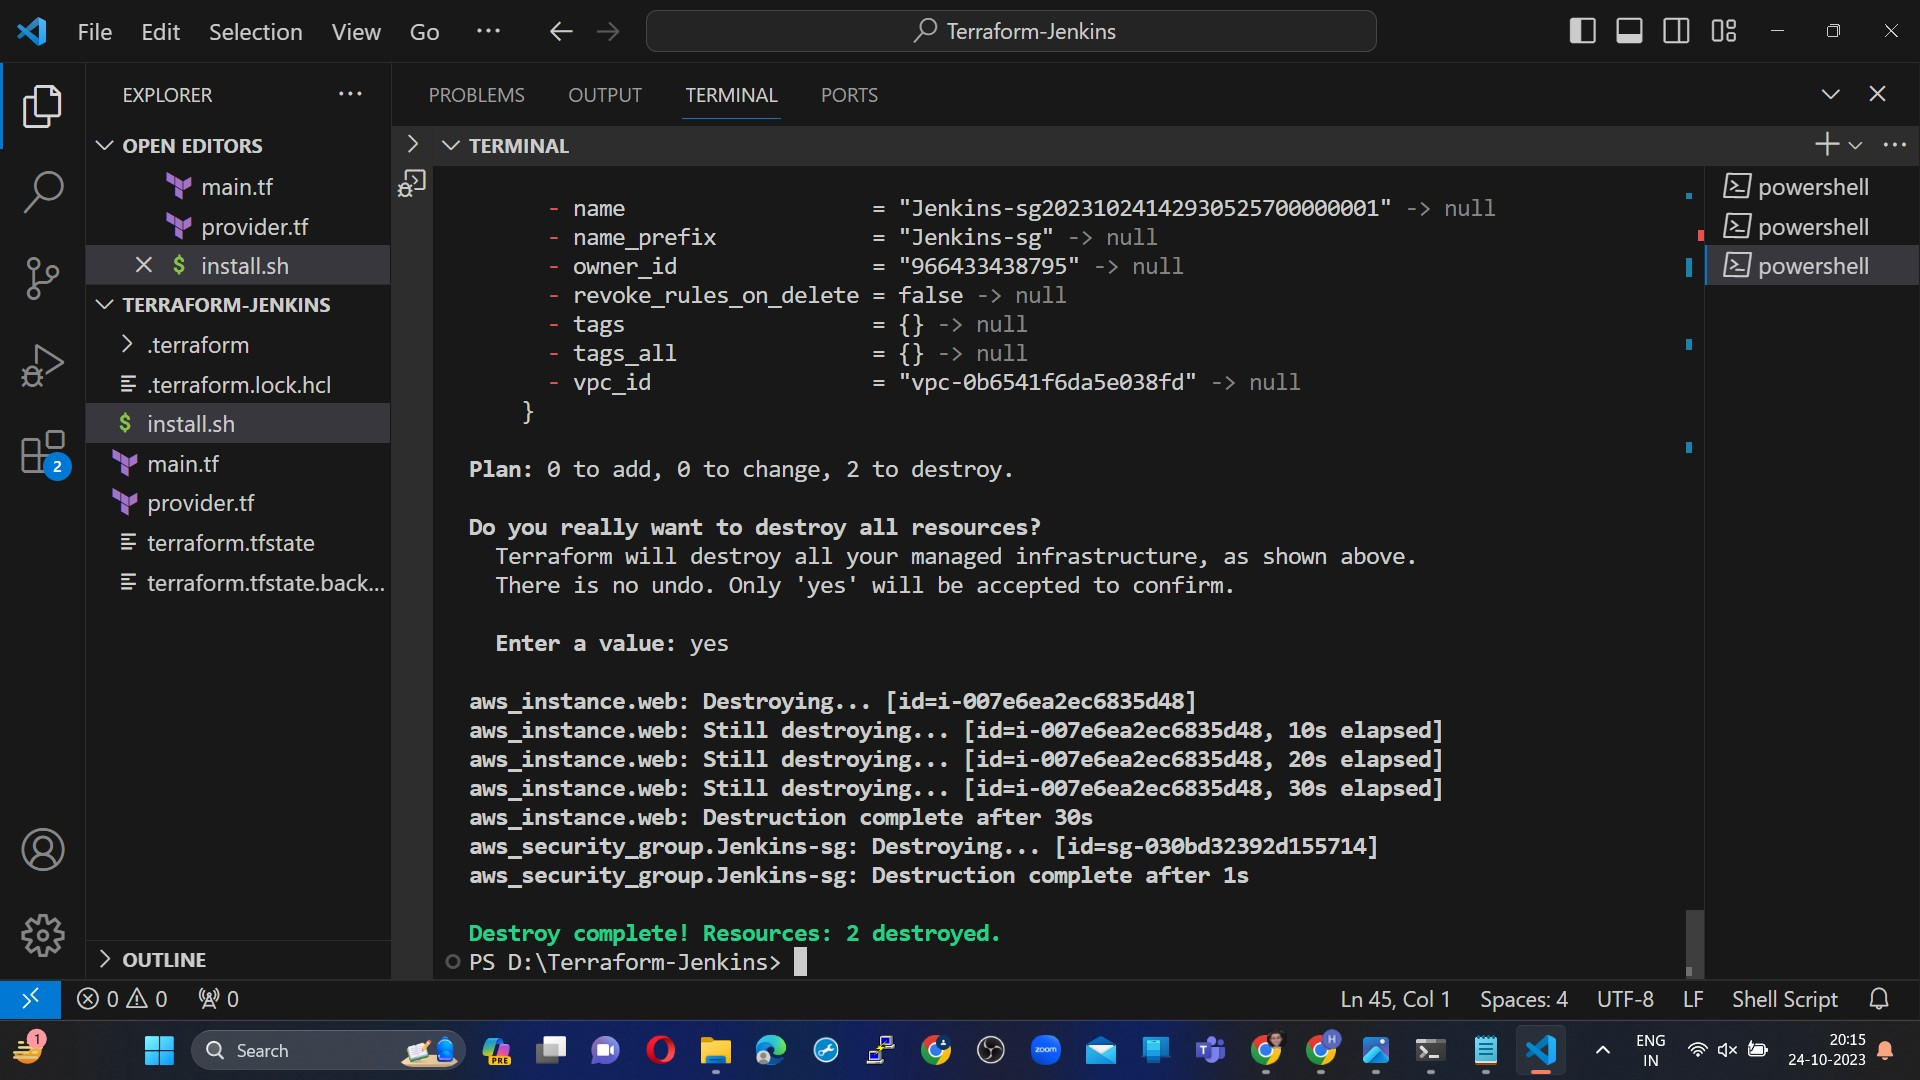
Destroy
terraform destroy
As we delve deeper into the realm of Artificial Intelligence and Machine Learning, we've unlocked the potential of cutting-edge algorithms and powerful data processing frameworks. From harnessing the capabilities of deep learning with TensorFlow to orchestrating complex data pipelines with Apache Spark, we've seen the incredible impact these technologies can have on our data-driven endeavors. The ability to model intricate patterns in data and extract meaningful insights is now at our fingertips, enabling us to make more informed decisions and develop innovative solutions. By embracing the world of AI and ML, we're not just keeping up with the times, we're shaping the future. So, dive into this exciting field, explore the endless possibilities it presents, and empower your team to build intelligent systems that will drive your projects to new frontiers of knowledge and innovation. Now, you're equipped to embark on your AI and ML journey and lead your projects into the era of data-driven brilliance. Happy innovating!


